How to Integrate AI Audio into Your Video Editing Workflow
Integrating AI audio into your video projects requires more than just dragging and dropping. Learn how to slice for pacing, layer room tone, and EQ synthetic voices to make them blend seamlessly into your timeline.
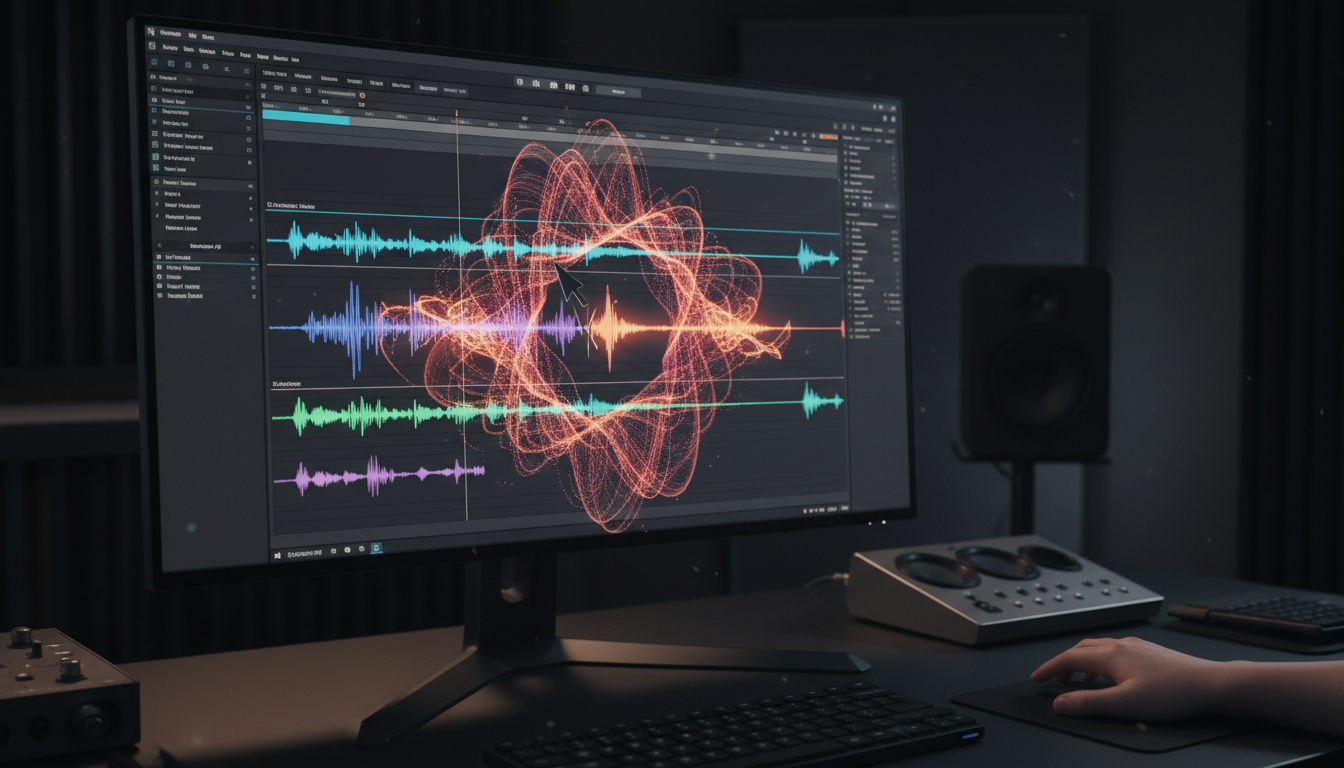
To integrate AI audio into a professional video editing workflow, you must treat the synthetic voiceover as raw, unedited material rather than a finished track. The process requires exporting uncompressed WAV files, slicing the continuous audio track into individual phrases to manually adjust pacing, adding a low-level room tone layer to mask digital silence, and applying targeted equalization (EQ) to soften harsh high-end frequencies. While AI tools drastically reduce production time, their blind generation means editors must manually bridge the gap between artificial delivery and cinematic reality in a non-linear editor (NLE) like Premiere Pro, DaVinci Resolve, or Final Cut Pro.
Why AI Audio Requires a Custom Post-Production Workflow
Traditional voice actors naturally adjust their cadence, tone, and volume based on visual cues, dramatic context, and direction. AI audio generators, however, synthesize speech blindly. They deliver clean, continuous files without context of your timeline's visual cuts, resulting in a pacing that often feels rushed or detached from the action on screen.
Furthermore, AI voices are generated in acoustically perfect, dry digital environments. While this sounds clean on paper, it is actually a dead giveaway of synthetic audio. Real-world dialogue contains subtle ambient noise, natural room reflections, and physical breathing patterns. Placing a perfectly dry, sterile AI voice over live-action footage or dynamic motion graphics creates an instant sonic disconnect.
Platforms like Fanfun are highly effective for sourcing custom character voices, celebrity-style roasts, or dynamic voiceovers for your projects. However, to make these elements match your project's visual energy, you must approach the asset generation phase with post-production in mind. Successfully designing custom character audio tracks requires a deliberate workflow that transforms a flat, synthetic voice file into a cohesive element of your overall soundscape. Whether you are structuring immersive audio stories or producing quick social clips, treating the AI voice as a raw recording is essential.
Step-by-Step: Importing and Aligning AI Audio in Your NLE
Once you have generated your AI audio asset, follow this step-by-step pipeline to import, align, and pace the track within your editing timeline.
1. Export and Import High-Quality WAVs
Always export your AI audio in an uncompressed format like WAV (24-bit, 48kHz is standard for video) rather than compressed MP3s. MP3 compression strips away valuable high and low-frequency data, leaving you with less headroom to apply EQ, compression, and noise-matching tools in your NLE.
2. The "Slice and Spread" Method
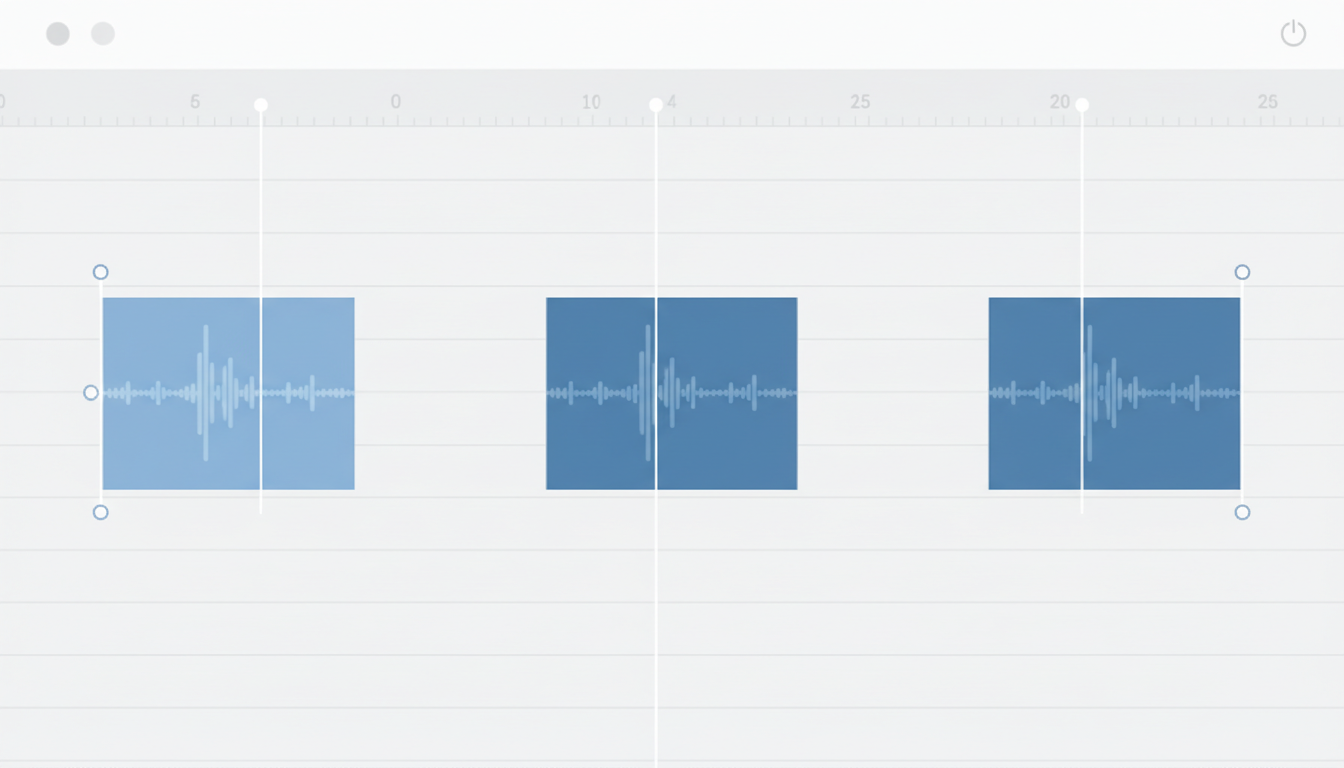
Do not drop the entire AI audio clip onto your timeline and leave it as a single block. Instead, use your NLE's blade or razor tool to cut the audio track into individual phrases, sentences, or even words.
By slicing the track, you can manually adjust the gaps between sentences. This is the stage where you implement deliberate pacing, allowing you to focus on scripting comedic timing and dramatic pauses by physically sliding the audio clips to match visual cuts, character reactions, or text pop-ups. For creators focused on humor, this hands-on alignment is key to directing text-to-speech for comedic impact.
3. Aligning with Visual Markers
Play through your video timeline and press the marker key (usually 'M' in Premiere Pro, Resolve, and Final Cut) on key visual action beats—such as a graphic appearing, a camera transition, or a physical gesture. Then, align the transient peaks (the visual spikes in your audio waveform) of your sliced AI clips directly with these markers. This ensures that key comedic or dramatic delivery points land exactly on the frame where the visual impact occurs.
Sweetening the Mix: How to Make AI Voices Sound Natural
Once your pacing is dialed in, the next step is audio sweetening. Raw AI voices often sound flat, thin, or overly sharp. Use these professional mixing techniques to blend the voice track into your project's environment.
Layer Room Tone to Mask Digital Silence
When you slice and spread your AI audio, you create gaps of absolute digital silence (0dB output). This silence is incredibly jarring to the human ear, especially when wearing headphones. To fix this, layer a continuous track of low-level ambient noise—such as actual room tone, outdoor atmosphere, or very quiet vinyl static—underneath your entire project. Keep this track low (usually between -50dB and -60dB) to knit the sliced audio clips together and make the transitions seamless.
Apply Targeted EQ and De-Essing
Synthetic voices frequently suffer from harsh high-end sibilance (piercing "S" and "T" sounds) and a lack of low-end warmth. Open your NLE's parametric equalizer and apply these adjustments:
- Low-End Roll-off: Apply a high-pass filter around 80Hz to clear out any digital rumble or unnecessary sub-bass.
- Low-Mid Boost: Add a subtle, wide boost (1dB to 2dB) between 120Hz and 250Hz to give the voice a warmer, more human presence.
- High-End Taming: Use a narrow notch filter or a dedicated De-esser plugin to tame harsh frequencies between 4kHz and 7kHz.
Implement Sidechain Ducking
If your video features background music, the AI voice must sit clearly on top of it without competing. Rather than manually keyframing the music volume up and down, set up sidechain compression. Route your AI voice track to trigger a compressor on your music track. Whenever the AI character speaks, the music will automatically dip (or "duck") by 3dB to 5dB, returning to its normal volume during the pauses you created with the slice-and-spread method. This is a foundational step in building a professional custom meme audio blueprint that keeps viewers engaged without sacrificing audio clarity.
This workflow is equally crucial when integrating custom media into live and hybrid events, where clear, balanced audio can make or break the audience's experience in a large venue.
A Checklist for Quality Control Before Final Export
Before you render your final video, use this decision and troubleshooting framework to ensure your AI mix holds up under scrutiny.
| Common AI Audio Issue | How to Detect It | How to Resolve It |
|---|---|---|
| "Uncanny Valley" Silence | Absolute silence in the gaps between your sliced audio clips. | Overlay a continuous ambient room tone track at -50dB. |
| Harsh Sibilance | Piercing "S" and "T" sounds that hurt the ears on headphones. | Apply a De-esser or a notch EQ cut between 4kHz and 7kHz. |
| Rushed Delivery | Sentences run together without logical pauses or rhythm. | Slice the waveform and drag the clips apart to match visual beats. |
| Lack of Environmental Depth | The voice sounds like it is sitting "on top" of the video rather than inside the space. | Add a subtle room reverb effect matching the visual environment (e.g., small room, hall). |
The Final QC Checklist
- Verify Breath Patterns: Listen to the transitions. If an AI voice delivers a long, complex sentence without a single breath, it instantly flags the audio as synthetic. Manually insert extremely quiet, natural breath sound effects in your timeline gaps if necessary.
- Check Level Consistency: Ensure the AI track's relative volume matches any real-world dialogue in your project. Instead of relying on rigid peak decibel rules, many editors use loudness meters targeting standard web delivery ranges (such as -14 to -16 LUFS) or visually match the average waveform heights to keep transitions smooth.
- Test on Multiple Devices: Do not rely solely on studio monitors. Listen to your mix on consumer headphones, laptop speakers, and mobile phone speakers. If the AI voice gets lost in the music on a phone speaker, increase your sidechain ducking or boost the 2kHz frequency range slightly to help the voice cut through.
How do I handle mispronounced words or awkward inflections in my AI audio track?
If an AI generator mispronounces a word or delivers an awkward inflection, you can often fix it in post-production without regenerating the entire track. Try cutting a clean syllable or phoneme from another part of the audio file and pasting it over the error. If that isn't possible, adjust the spelling of the word phonetically in your AI generator (e.g., spelling "lead" as "led" or "leed" depending on the context) and export only that specific word to patch into your NLE timeline.
Should I apply voice effects before or after slicing the audio on my timeline?
While workflow preferences vary, many editors find it easiest to slice and arrange the raw audio on the timeline first to establish pacing, then apply EQ and compression to the entire track (using a track mixer or nesting) to maintain a unified sound. However, you can also apply effects to individual clips if a specific line requires unique processing.