How to Import and Sync Character Voiceovers in Mobile Video Editing Apps
Importing character voiceovers into mobile video editors is simple once you know how to extract audio from video files. This step-by-step guide covers workflows for CapCut, InShot, and desktop suites to help you sync dialogue perfectly.
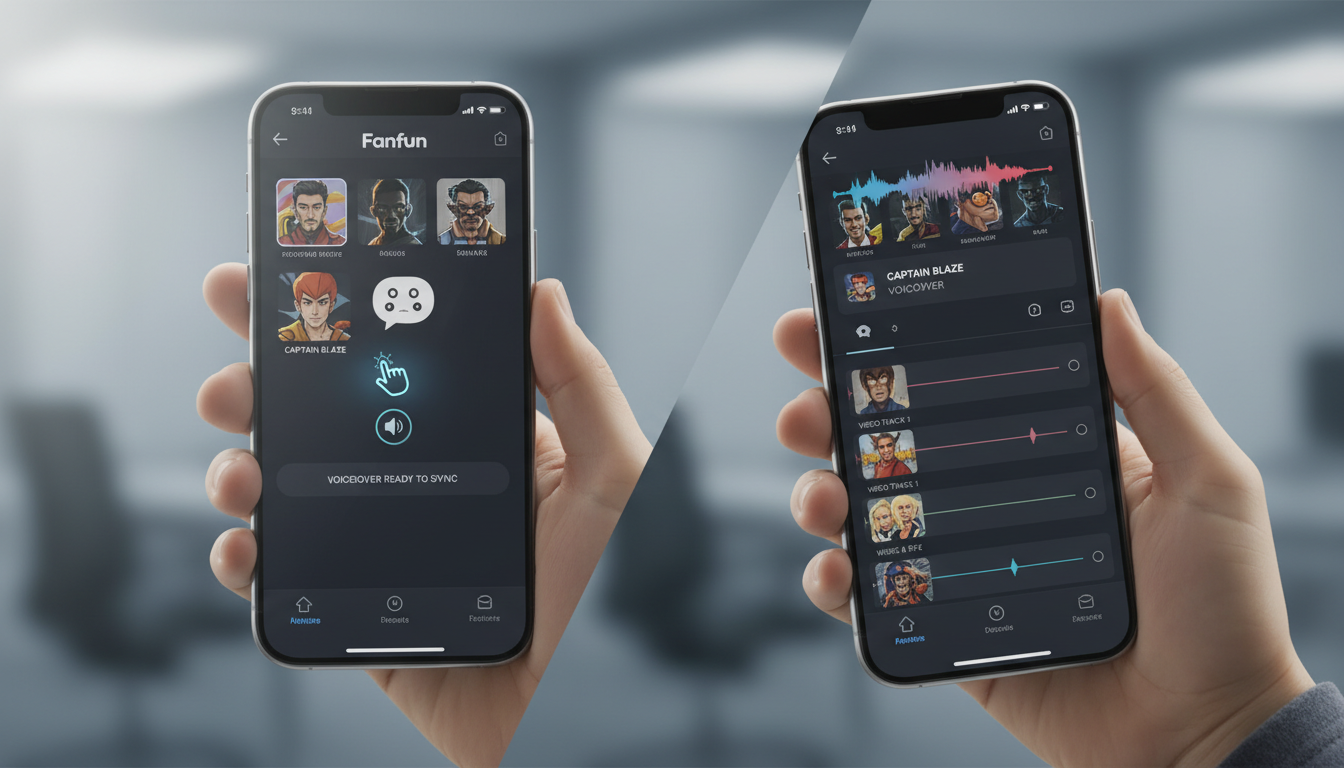
To use character voiceovers in mobile video editing apps like CapCut or InShot, the fastest method is to generate your character asset as an MP4 video file on a platform like Fanfun, import that video directly into your mobile editor's timeline, and use the "Extract Audio" tool to separate the voice track from the video track. Alternatively, you can download the voiceover as a standalone audio file (such as an MP3 or WAV) and import it via your local file manager. While mobile workflows are highly efficient for quick social media clips, editing complex multi-character dialogue scenes often requires a desktop editor for precise timeline control and multi-track mixing.
The Character Voiceover Workflow: From Generation to Timeline
Before you can edit, you need a high-quality character voice file. Using a platform like Fanfun, you can select an AI character, input your custom script, and generate a video file containing the voiceover in minutes. Once generated, downloading this file to your mobile device is the crucial first step. Understanding how to generate and layer custom character voiceovers ensures your raw assets are clean and ready for the timeline.
When bringing assets into a mobile editor, creators typically choose between importing raw audio files or extracting audio from a downloaded video. The table below outlines when to use each method:
| Method | Best For | Pros | Cons |
|---|---|---|---|
| Video-to-Audio Extraction | Quick social clips, meme formats, TikToks | No need for separate audio conversion; direct import from camera roll | Requires deleting or hiding the original video track after extraction |
| Direct Audio Import | Multi-track projects, high-fidelity sound design | Keeps timeline clean; handles native WAV/MP3 files directly | Requires file management apps to locate local downloads on mobile |
Step-by-Step: Importing and Extracting Audio in Popular Editing Apps
Different mobile and desktop video editors handle external audio files in unique ways. Here is how to execute the workflow across the most common editing environments.
CapCut Workflow (Mobile)
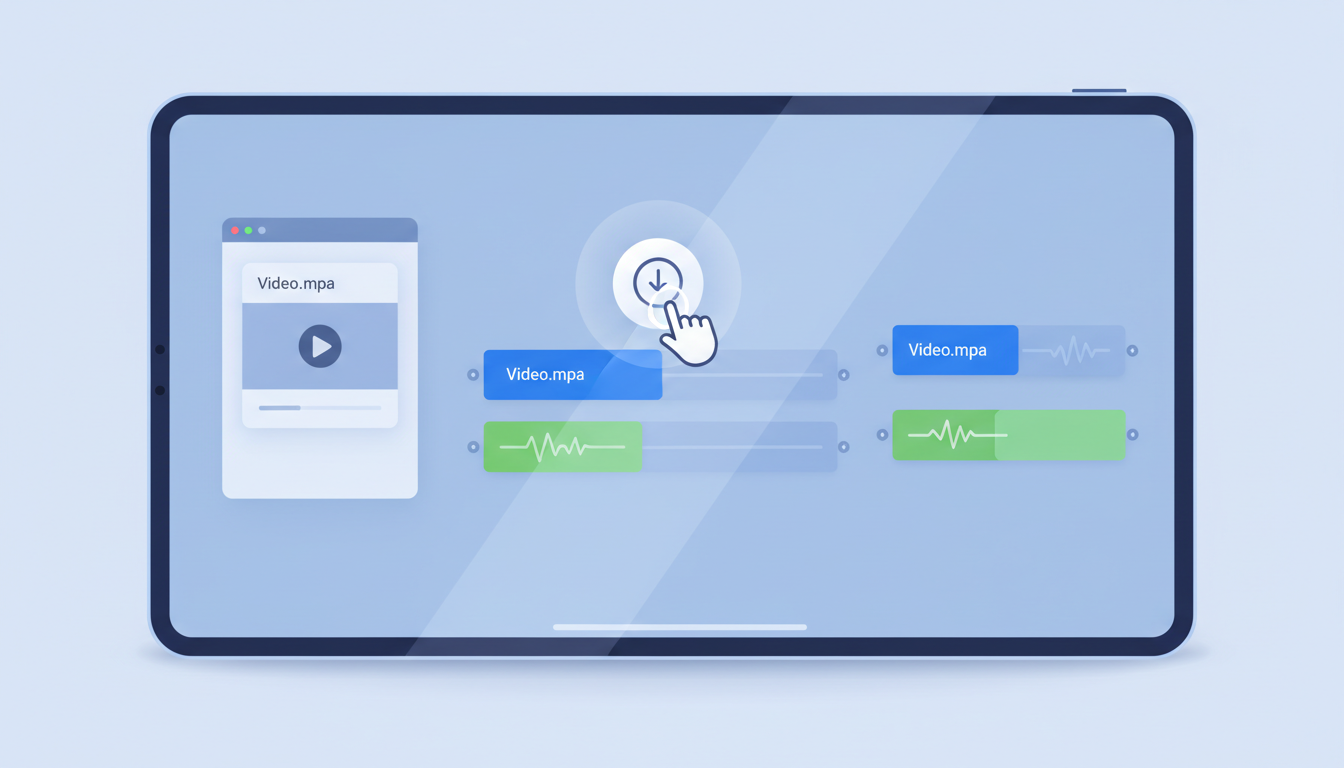
- Open CapCut and start a new project with your primary background footage.
- Tap on the Audio menu at the bottom of the screen, then select Sounds.
- Tap the file folder icon (labeled "Your Sounds") and choose From Video.
- Select the downloaded Fanfun MP4 file from your camera roll and tap Import sound only.
- CapCut will automatically extract the audio track and place it directly beneath your video timeline.
InShot Workflow (Mobile)
- Open InShot, select Video, and import your main footage.
- Tap the Music icon on the toolbar, then select Tracks.
- Tap My Music to browse your device's local directories.
- If you downloaded a standalone audio file, select it from your files. If you have an MP4, tap Extract Audio from Video and select the Fanfun file.
- Adjust the volume slider to ensure the character voice is clear before proceeding.
Desktop Workflow (Premiere Pro & DaVinci Resolve)
For advanced creators using desktop suites, organization is key. Import your generated character assets directly into your Project Bin. Drag the MP4 or WAV file onto a dedicated audio track (e.g., Audio 2), keeping your primary B-roll audio or environment sounds on Audio 1. Lock the character audio track once synced to prevent accidental split-cuts while editing your visual timeline.
Pacing, Ducking, and Polishing Your Character Dialogue
AI-generated voices are highly realistic, but they sometimes lack the natural pauses of human speech. To make your dialogue sound conversational, you must polish the pacing manually.
Split-Cutting for Natural Pacing: Listen closely to the generated voiceover. If the transition between two sentences feels too fast or too slow, use your editor's "Split" tool to cut the audio track right at the pause. Drag the second segment slightly forward or backward to create a natural breathing space of about 0.3 to 0.5 seconds.
Audio Ducking: When layering background music, the music should never compete with the character's voice. Use audio ducking to lower the background music by 10 to 15 decibels (dB) whenever the character is speaking. In CapCut, you can use the "Ducking" toggle or manually place keyframes on the music track to lower the volume during dialogue and raise it back up during pauses.
Blending with Room Tone: If your split-cuts create jarring moments of absolute silence, add a low-volume "room tone" or "vinyl crackle" sound effect on a separate background track. Keeping this ambient layer at a constant -35dB masks the edit points and glues your voiceover and B-roll together.
Maximizing Audience Retention with Strategic Audio Placement
Visual hooks are only half the battle; auditory hooks are what stop the scroll. Strategic audio placement ensures viewers stay engaged from the very first frame.
Start your video with the character's voice. Placing a highly recognizable, dramatic, or humorous line within the first three seconds acts as an immediate auditory hook. If you are using character-driven voiceovers for high-retention video intros, avoid slow build-ups—lead with the character's most engaging line to capture attention instantly.
This strategy is particularly effective for faceless content. When you boost retention in faceless videos using character AI voices, you can layer the character dialogue over fast-paced B-roll, dynamic captions, and subtle zoom effects. This dual-sensory stimulation keeps the viewer's brain occupied, reducing swipe-away rates.
Pre-Export Audio Checklist
- Voiceover Volume: Set between -3dB and -6dB (should be the loudest element).
- Background Music Volume: Set between -18dB and -25dB during active dialogue.
- Captions Sync: Verify that on-screen auto-captions match the exact syllable timing of the character's voice.
- Export Format: Export your final video with AAC audio codec at a minimum of 320kbps for optimal social platform compression.
What is the best audio file format to use for character voiceovers in mobile editors?
For mobile video editors like CapCut and InShot, MP3 and WAV are the most widely supported standalone audio formats. However, importing an MP4 video file and using the "Extract Audio" tool within the app is often the most reliable method, as it avoids file compatibility issues common with mobile operating systems.
How do I fix sync issues between the character's voice and the on-screen captions?
If your auto-generated captions drift from the character voiceover, manually split the caption blocks in your editor's timeline. Adjust the timing of each text block to match when the character begins speaking each phrase.
Can I use Fanfun character voiceovers in commercial social media ads?
When using AI-generated character voices, commercial usage rights depend on the specific platform's terms of service and the intellectual property rights associated with the character. It is best to review the platform's current terms and licensing guidelines before using any generated voices in paid advertising or commercial campaigns.