The Perfect Sync: How to Generate and Layer Custom Character Voiceovers for High-Impact Video Clips
Stop letting robotic text-to-speech voices kill your video retention. This practical guide walks you through scripting, timing, and layering personality-rich custom character voiceovers using Fanfun to elevate your edits from generic to scroll-stopping.
Visuals get eyes on your video, but audio keeps them there. In short-form content, the first few seconds determine whether a viewer swipes away or stays for the ride. Despite this, millions of creators still rely on the same flat, robotic text-to-speech voices that sound like a GPS reading coordinates.
If you want to stand out, you need to think like an audio director. By using character-driven narratives and precise audio editing, you can transform a standard video clip into an immersive, scroll-stopping experience. Here is how to generate, time, and layer custom character voiceovers using Fanfun to elevate your edits.
The Anatomy of a High-Impact Voiceover (Why Default TTS Fails)
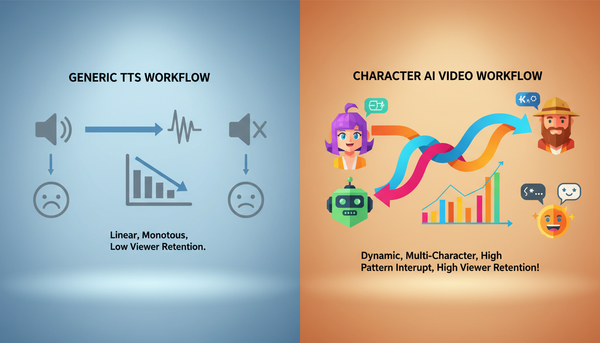
Audiences have developed "sensory blindness" to standard, overused platform voices. When a viewer hears the same generic text-to-speech voice they have already heard on fifty other videos that day, their brain registers the content as low-effort. This immediate association triggers a subconscious reflex to swipe away, destroying your retention rates before your video even gets started.
You can break this cycle by ditching the overused default TikTok voices and replacing them with dynamic, personality-rich alternatives. Character-driven voiceovers immediately establish narrative context, emotional hooks, or comedic tone within the first three seconds. A voice with texture, gravel, or a recognizable dialect signals to the viewer that they are watching something custom-crafted, not a mass-produced clip.
This is where Fanfun serves as the ultimate creative sandbox. Instead of settling for sterile screen-readers, creators can access a vast library of licensed and original AI personas. Whether you need a booming athletic coach to inject energy into a sports highlight reel or a deadpan character to deliver a punchline, Fanfun allows you to generate high-fidelity, expressive audio that sounds like a real personality in minutes.
Step-by-Step: Scripting and Timing Your Voiceover for Visual Beats
Great voiceovers do not happen by accident; they are engineered to fit the visual timeline. When you write a script for an AI voice generator, you must write for the ear, not the eye. This means prioritizing conversational flow, rhythm, and intentional pauses over perfect written grammar.
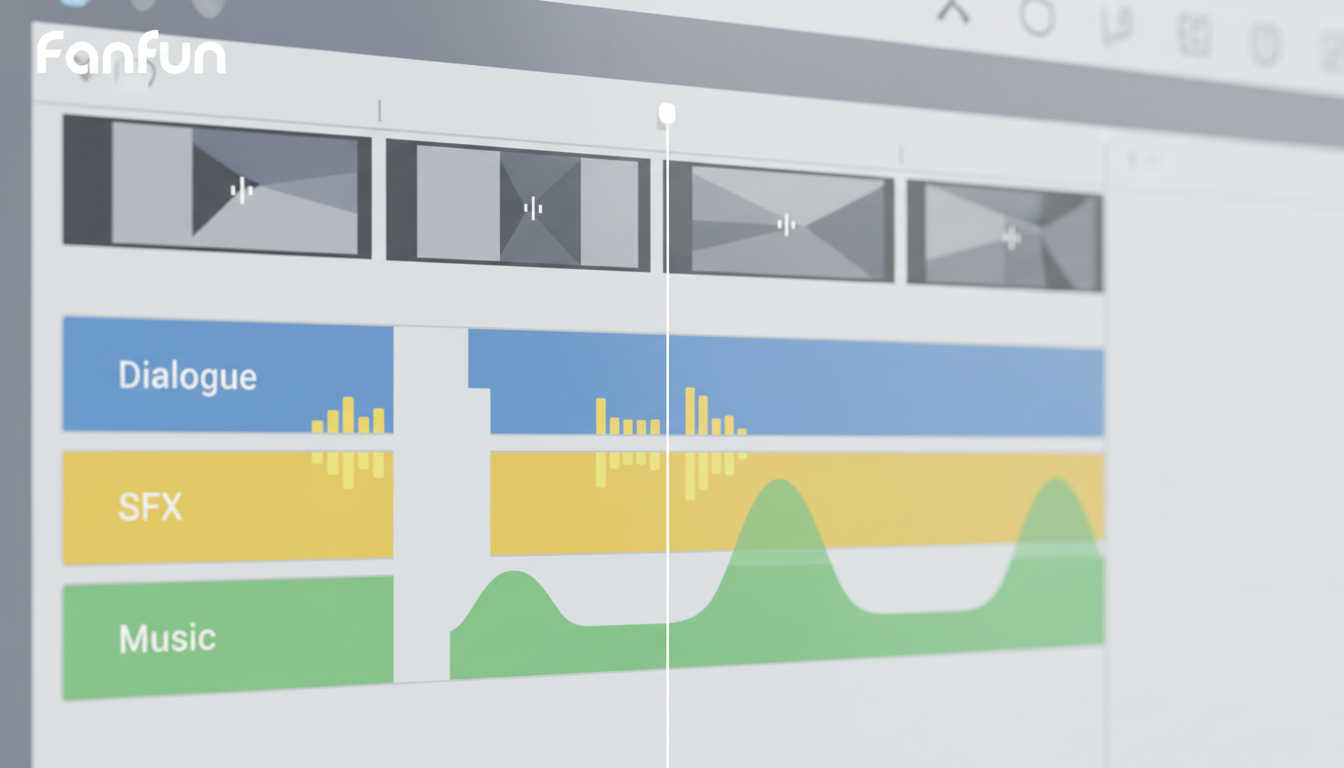
As a general pacing rule, aim for roughly 130 to 150 words per minute (WPM) for energetic, fast-paced social media edits. However, you must leave physical "breathing room" in your script to align with visual transitions, text pop-ups, or sound effects. If your voiceover is packed end-to-end with words, the final video will feel claustrophobic and overwhelming.
Writing for the Pause: Punctuation Hacks for AI Engines
Generative AI voice engines interpret punctuation as physical cues. If you want your custom character voice to sound natural, you must use punctuation strategically to force pauses, shifts in cadence, and realistic breathing points. This is especially true when casting and scripting multi-character dialogue for your edits.
- The Ellipsis (...): Use this to create a dramatic pause or a contemplative beat. It signals the AI to slow down and let the previous word breathe.
- The Em-Dash (—): Perfect for representing sudden shifts in thought, abrupt interruptions, or energetic transitions.
- Line Breaks: Breaking your text into smaller, bite-sized paragraphs often prompts the voice generator to reset its pitch, preventing a monotonous delivery.
To help you structure your project timeline, use the timing framework below to match your script length with your target video duration:
| Video Duration | Max Word Count | Pacing Goal | Visual Cut Frequency |
|---|---|---|---|
| 15 Seconds | 30 - 35 words | High energy, punchy hook | Every 1.5 - 2 seconds |
| 30 Seconds | 65 - 75 words | Balanced narrative, clear middle | Every 2 - 3 seconds |
| 60 Seconds | 130 - 150 words | Story-driven, rhythmic pauses | Varying (1 - 4 seconds) |
Casting the Right Voice: Matching Persona to Video Genre
A brilliant script will still fall flat if delivered by the wrong voice. A stark mismatch between visual tone and audio persona breaks viewer immersion instantly. For example, a high-octane gaming montage paired with a slow, academic voice feels jarring, while a deadpan comedy meme loses its humor if delivered by an overly enthusiastic cartoon voice.
Casting is a crucial step for crafting high-retention video intros that capture attention before the user can scroll. Consider your video's core genre and select a character archetype that naturally amplifies that mood:
- The Hype Beast (Sports & Action): A gravelly, high-energy, authoritative voice. Best for sports highlights, intense fitness tutorials, or dramatic product reveals.
- The Deadpan Cynic (Memes & Comedy): A flat, dry, slightly sarcastic delivery. Ideal for self-deprecating humor, reaction videos, and internet culture commentary.
- The Wise Mentor (Educational & Documentaries): A warm, deep, and measured voice. Use this for historical deep-dives, step-by-step tutorials, or philosophical essays.
- The Anime Hero (Gaming & Pop Culture): An energetic, expressive, and passionate voice. Perfect for gaming walkthroughs, anime reviews, and fast-paced vlog intros.
Generating and Exporting with Fanfun’s AI Voice Generator
Once your script is finalized and you have selected your target persona, it is time to bring the audio to life using Fanfun. The platform is designed to streamline the production pipeline, letting you generate high-quality voiceovers in a fraction of the time it takes to hire voice talent or mess with complex local software.
First, navigate to the Fanfun Character Library. Here, you can filter through a diverse roster of licensed and original AI personas, each tailored to specific cultural niches. Once you select your character, copy and paste your punctuated script into the generator interface.
Before exporting your final high-fidelity file, run a few quick generation tests on shorter sentences. This allows you to check how the AI engine inflects key words, brand names, or slang. If a word sounds unnatural, you can adjust the spelling phonetically (e.g., writing "fon-fun" instead of "Fanfun" if you need to force a specific vowel sound) to get the perfect delivery. Because Fanfun offers instant delivery, you can iterate and tweak your scripts on the fly without waiting days for voice actor turnarounds.
Post-Production Magic: How to Layer Voiceovers Like a Pro
Once you have exported your clean WAV or MP3 file from Fanfun, the final step is to blend it seamlessly into your video editor (such as CapCut, Premiere Pro, or DaVinci Resolve). Simply dropping a dry voiceover track on top of background music will make the audio feel detached and amateurish. To make the voiceover feel like it belongs in the scene, you need to apply some post-production polish.
The single most important technique is audio ducking. Ducking automatically lowers the volume of your background music whenever the character voiceover is active, then smoothly raises it back up during pauses. Most modern video editors have an automatic "Ducking" button, but you can also manually keyframe your music track to drop by 10 to 15 decibels (dB) during speech.
Additionally, pay attention to spatial audio. This is an essential step in building full custom character audio tracks that feel native to the visual environment. If your video clip takes place in a large stadium, adding a tiny amount of hall reverb to your Fanfun voiceover will make it sound as though the character is actually standing in that physical space. Conversely, if the scene is an intimate, close-up interview, keep the audio dry and crisp, adding a subtle low-end boost to give the voice a rich, professional presence.
How do I sync AI voiceover to my video clips?
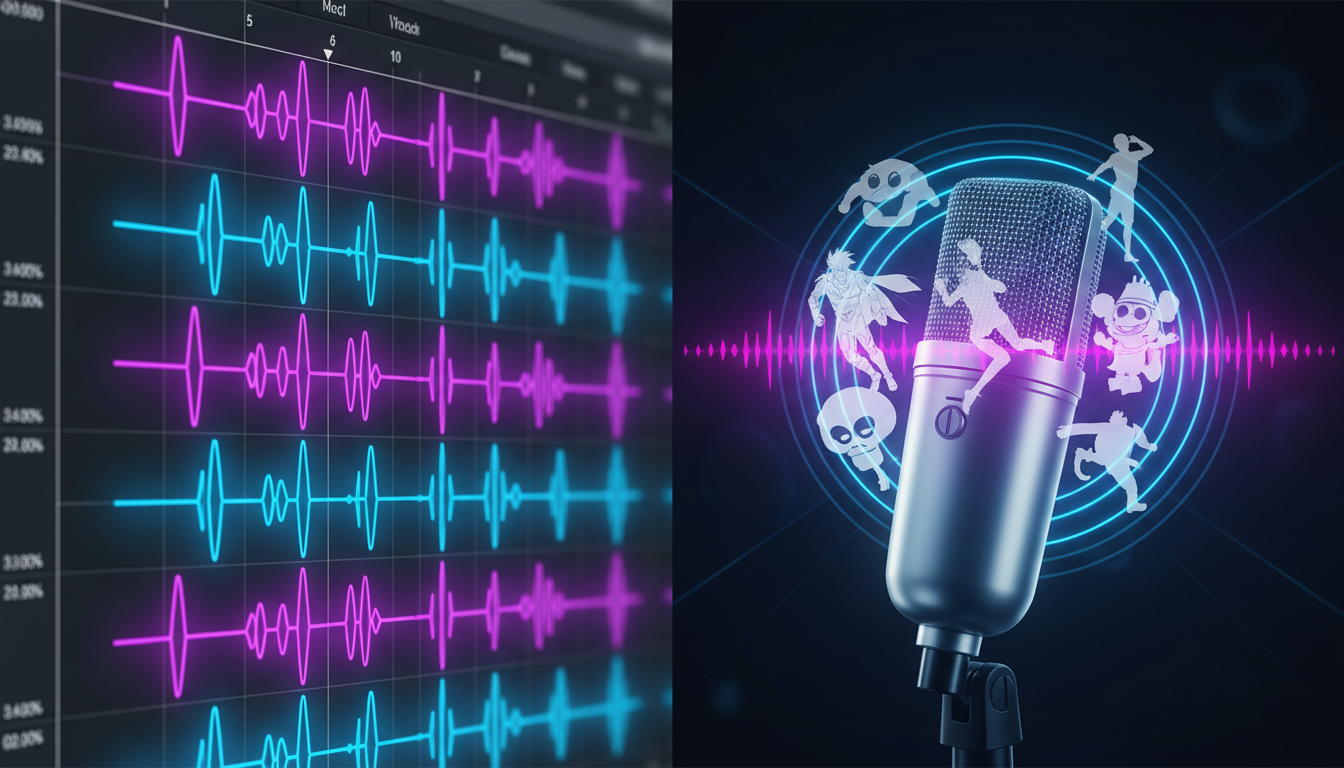
To sync your voiceover, import the generated audio file into your video editor's timeline. Align the audio waveform with the visual cues of your video. You can split the audio track into smaller sections to adjust the spacing between sentences, ensuring that key words land precisely when visual transitions or text pop-ups occur.
Can I use character voices for commercial video ads?
Yes, but licensing terms depend on the specific character you choose from the Fanfun library. Fanfun offers a mix of original, licensed, and public domain personas. Always check the specific usage rights associated with your chosen voice profile within the app before launching paid commercial campaigns.
What is the best video editor for adding custom voiceovers?
For quick mobile editing, CapCut and Premiere Rush are excellent options that offer built-in audio ducking and basic EQ controls. For desktop creators looking for advanced mixing, spatial audio, and precise manual keyframing, Adobe Premiere Pro, DaVinci Resolve, or Final Cut Pro are the industry standards.
How do I make an AI voiceover sound more natural and less robotic?
To maximize natural delivery, write your script exactly how people speak, rather than using formal written grammar. Use punctuation like ellipses (...) for pauses and em-dashes (—) for sudden shifts in tone. If the AI mispronounces a word, spell it phonetically in the text generator to force the correct pronunciation.