How to Play a Digital Video Greeting on a Smart TV Using a USB Drive
Avoid spotty Wi-Fi and casting lag at your next family gathering. Learn how to format a USB flash drive, prepare your video file, and play your digital video greeting directly on any smart TV.
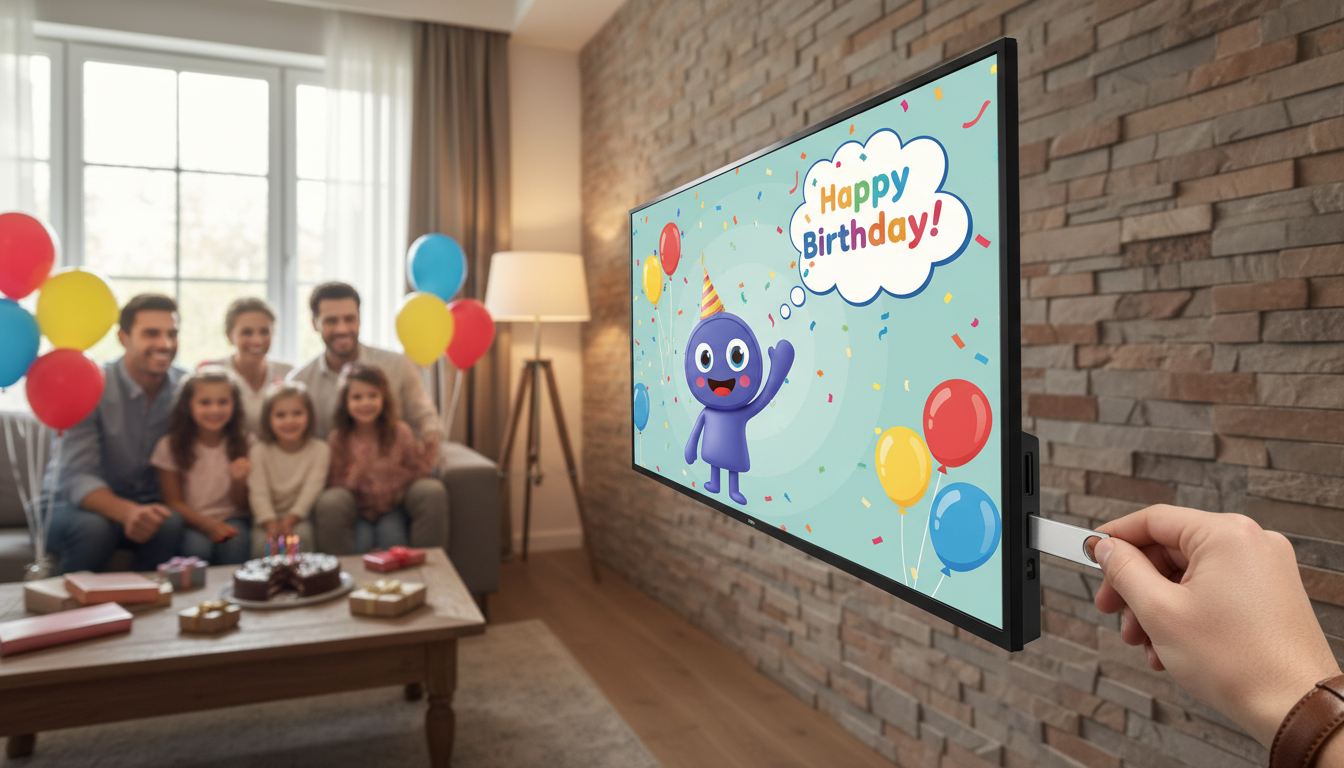
To play a digital video greeting on a smart TV using a USB drive, format your USB flash drive to FAT32 or exFAT, download your video as an MP4 file (using H.264 video and AAC audio codecs at 1080p resolution), and save it directly to the drive's root folder. Plug the drive into your smart TV's USB port, open the TV's native media player app using your remote, and select your video to play. This local playback method completely bypasses spotty venue Wi-Fi, preventing buffering or quality drops during your big reveal.
Why USB is the Most Reliable Way to Play Video Greetings at Gatherings
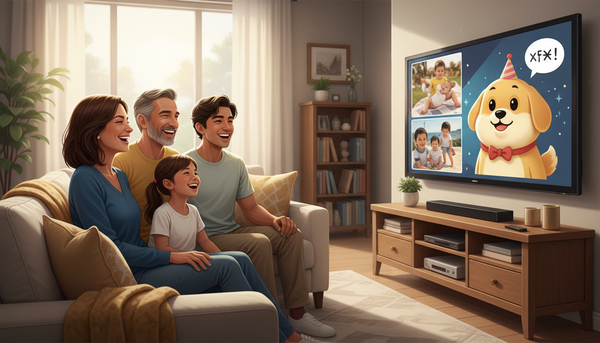
Whether you are hosting a milestone birthday party, an anniversary, or a holiday family reunion, sharing a custom video message on the living room TV is a fantastic way to bring everyone together. However, relying on mobile casting, AirPlay, or venue Wi-Fi often leads to awkward pauses, pixelated playback, or connection drops right when you want to surprise your guests.
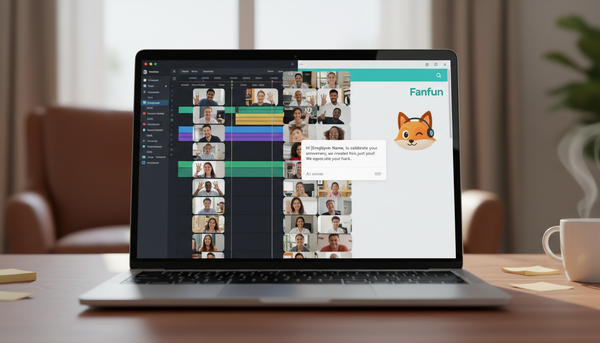
Using a physical USB drive is the most reliable, lag-free way to showcase high-quality video greetings on a large screen. If you have generated a playful, custom AI character message through Fanfun—such as a birthday shoutout from a favorite animated character or a virtual personality—you want that voice and animation to look and sound crisp. Displaying it on a large, high-definition screen offers a shared sensory experience that watching a video on a cramped smartphone screen simply cannot match. Before deciding on your presentation setup, it is helpful to compare how different digital presentation formats stack up against traditional options to ensure your greeting makes the biggest impact possible.
Step 1: Format Your USB Drive for Smart TV Compatibility
Smart TVs run on specialized operating systems that only read specific storage formats. If your USB drive is formatted incorrectly, your TV will display an "unrecognized device" error. To avoid this, you should format your drive before loading your video files. Be aware that formatting erases all existing data on the USB drive, so back up any important files first.
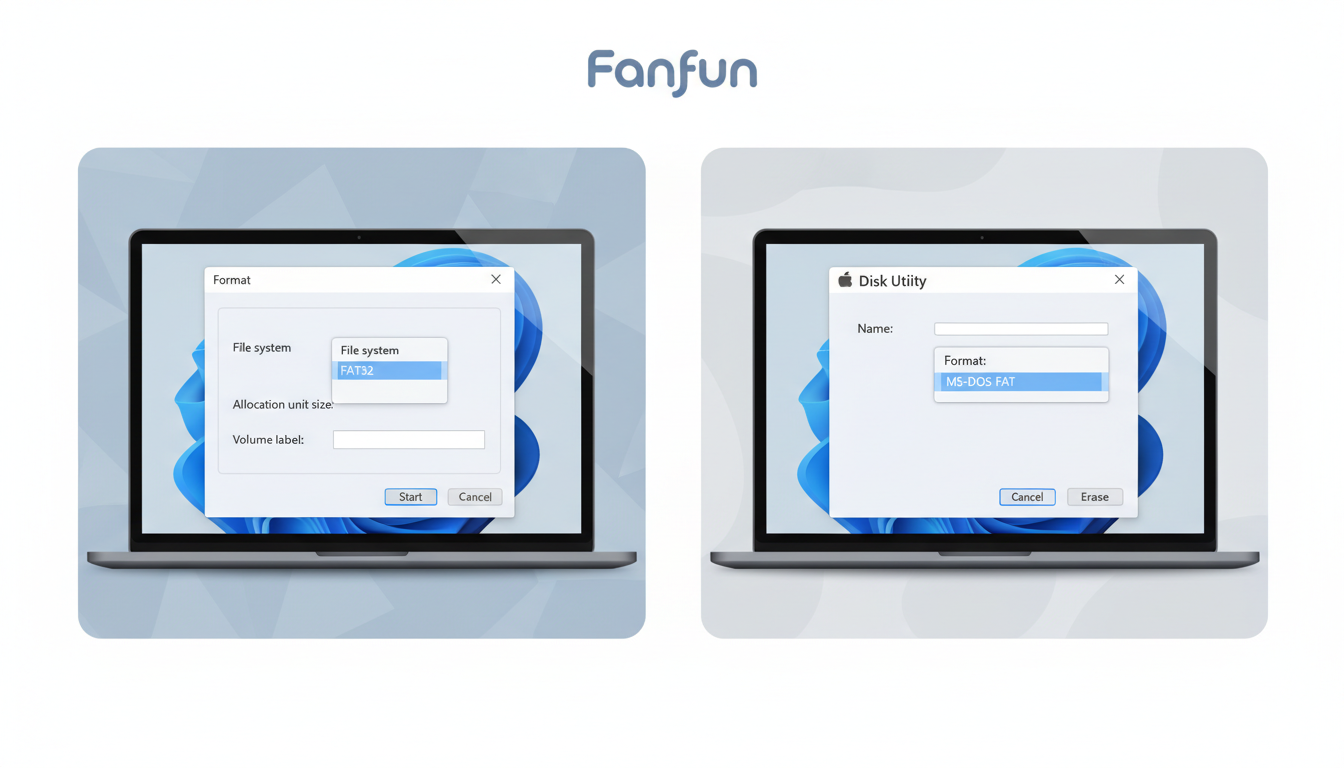
Most modern smart TVs from Samsung, LG, Sony, and Roku support FAT32 and exFAT file systems. FAT32 is universally compatible but limits individual file sizes to 4GB. exFAT supports larger files and is widely compatible with newer smart TVs.
How to Format Your USB Drive on Windows:
- Insert your USB drive into your computer's USB port.
- Open File Explorer and right-click your USB drive under "This PC".
- Select Format from the drop-down menu.
- Under "File System," select FAT32 (for older TVs) or exFAT (for newer TVs).
- Leave "Allocation unit size" at default, check the box for Quick Format, and click Start.
How to Format Your USB Drive on macOS:
- Insert your USB drive into your Mac.
- Open Disk Utility (found in Applications > Utilities).
- Select your USB drive from the left sidebar.
- Click the Erase button at the top of the window.
- In the "Format" dropdown, select MS-DOS (FAT) for FAT32, or ExFAT.
- Click Erase to complete the process.
Step 2: Download and Prepare Your Video File
Once your drive is clean and formatted, you need to ensure your video greeting is saved in a compatible format. While smart TVs are highly capable, they can be picky about video containers and codecs.
For the best results across almost all TV brands, use the following specifications:
- Format/Container: MP4
- Video Codec: H.264 (AVC)
- Audio Codec: AAC
- Resolution: 1080p (1920x1080). While 4K is stunning, 1080p is safer for universal compatibility on older TV models and keeps file sizes manageable.
To transfer the video, download it to your computer first. If you are accessing your media on the go, check out our guide on downloading and saving video greetings from Google Drive to ensure you get the full-resolution file rather than a compressed preview. Once downloaded, drag and drop the MP4 file directly into the main (root) folder of your USB drive. Avoid burying the file inside multiple subfolders, as some TV media players struggle to navigate deep folder structures.
Step 3: Plug, Navigate, and Play on Your Smart TV
With your video file safely loaded onto your formatted USB drive, you are ready to set up the big screen at your venue or home.
- Locate the USB ports on your smart TV. These are typically on the back or side panel. If one port is labeled USB (HDD), use that one; it provides higher power output, which ensures stable reading of external storage devices.
- Plug the USB drive in. Many modern smart TVs will automatically detect the device and display an on-screen prompt asking if you want to browse the files.
- If no prompt appears, grab your TV remote and press the Source or Input button, then select USB. Alternatively, navigate to your TV's home screen and open the built-in media app—often named Media Player, Photos & Videos, or SmartShare.
- Navigate to your video file and press play.
If you want the digital greeting to run continuously in the background during a party, look for your TV's playback settings menu (usually accessible by pressing the "Options" or "Menu" button on your remote while the video is playing) and select Loop or Repeat One. This setup is highly effective for events, behaving similar to setting up a physical video greeting kiosk for guests to enjoy at their own pace.
Troubleshooting Common USB Playback Issues
If your video doesn't play immediately, don't panic. Use this quick-reference troubleshooting guide to resolve the most common issues on site:
| Symptom | Potential Cause | Quick Solution |
|---|---|---|
| TV says "No USB Device Found" or won't recognize the drive. | Incompatible file system (e.g., Mac-only APFS or Windows-only NTFS on an older TV). | Re-format the USB drive to FAT32 or exFAT on a computer, then reload the video. |
| Audio plays, but the screen is black, or you get a "Codec Not Supported" error. | The video was encoded with a codec the TV doesn't recognize (like HEVC/H.265 or ProRes). | Re-encode the video file to H.264/AAC MP4 using a free tool like HandBrake. |
| The video plays but stutter-steps or freezes frequently. | The USB drive read speed is too slow, or the video bitrate is too high. | Try plugging into a USB port labeled "HDD" or "USB 3.0" (usually colored blue), or compress the video to a lower bitrate. |
By preparing your USB drive and testing your MP4 file ahead of time, you can confidently share your digital video greetings on the big screen without any technical hiccups or Wi-Fi headaches.
Can I play a video from my phone directly to the TV's USB port using a charging cable?
Generally, no. Most smart TVs cannot read video files directly from a mobile device connected via a standard charging cable because phones utilize complex storage protocols (like MTP) rather than mounting as a simple mass storage drive. It is far more reliable to transfer the file to a standard USB flash drive first.
Why is my smart TV saying 'file format not supported' even though it is an MP4?
An MP4 is just a container. Inside that container, the video and audio can be encoded with many different codecs. If your video is encoded in a newer format like H.265 (HEVC) or an editing codec like ProRes, older smart TVs may not support it. Re-encoding the video to standard H.264 video and AAC audio will resolve this issue.
Does the size of the USB drive matter for smart TV playback?
Yes. Some older smart TVs have partition limitations and cannot read USB drives larger than 32GB or 64GB, especially if formatted in FAT32. For maximum compatibility across all TV brands and age groups, a standard 16GB or 32GB USB 3.0 flash drive is ideal.