The 5-Second Hook: How to Script, Direct, and Mix a Custom AI Voice for Your Podcast Intro
Ditch the generic, dry podcast introductions. Learn the exact copywriting templates, performance direction techniques, and DAW mixdown steps to build a cinematic, high-retention intro using custom AI voices.
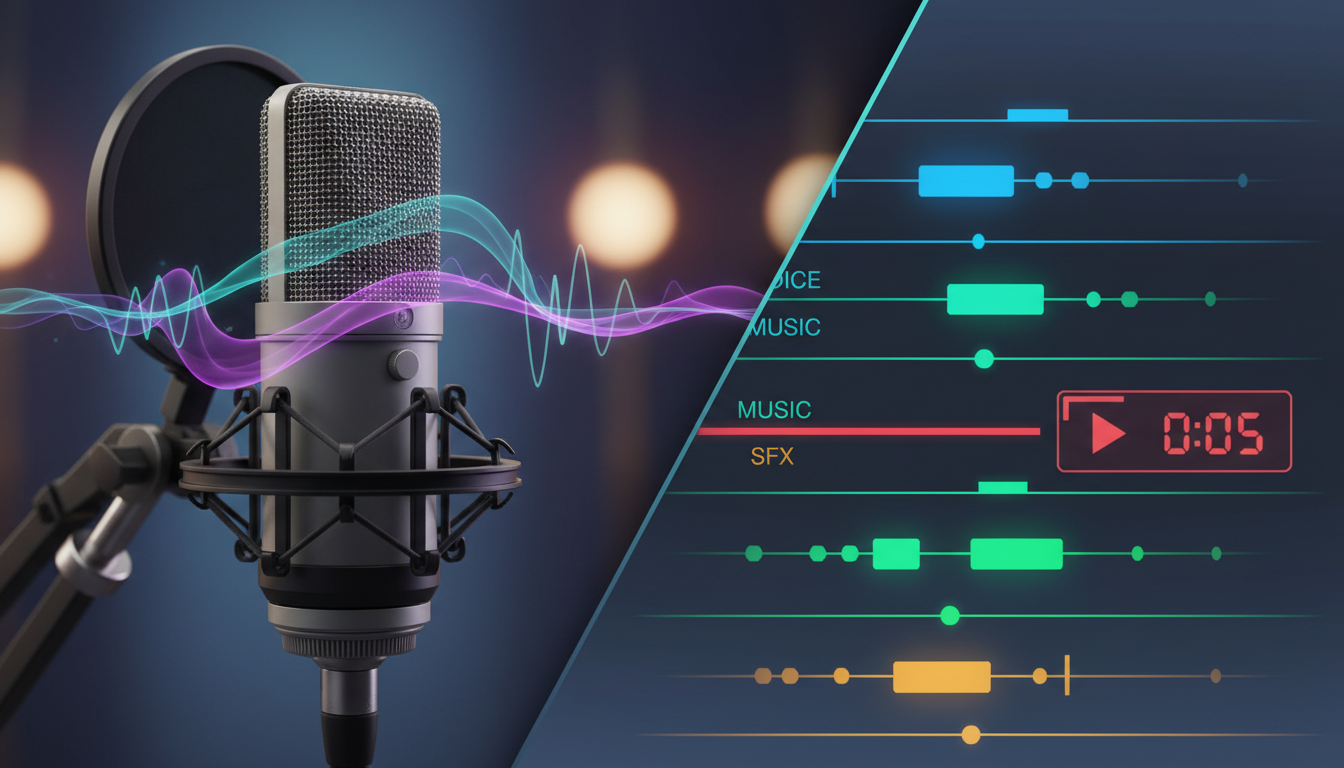
Hit play on almost any independent podcast, and you will likely hear the same formula: a generic stock music track that drags on for twenty seconds, followed by a dry, uninspired voiceover reading a standard boilerplate introduction. This slow-burn approach is a listener retention killer. In a landscape where millions of shows compete for attention, your intro needs to act as a compelling gateway that immediately signals production value, tone, and authority.
To break through the noise, professional creators are treating their podcast intros less like administrative announcements and more like cinematic movie trailers. By utilizing Fanfun’s advanced AI voice generator, you can bypass the high cost of hiring voice talent and instantly craft a highly stylized, pop-culture-infused, or character-driven intro that commands attention from the very first second. This guide breaks down the anatomy of a high-retention intro and provides a step-by-step blueprint to write, direct, and mix a studio-quality opening sequence.
The Anatomy of a High-Retention Podcast Intro
The first five to ten seconds of your episode dictate your show's drop-off curve. Audio platforms refer to this as the "First Five" rule: the critical window where a new listener decides whether to commit to the episode or skip to another show in their feed. A premium intro doesn't just fill space; it establishes an immediate psychological contract with the listener, promising them that what follows is professional, entertaining, and worth their time.
A highly successful, professional-grade podcast intro relies on three core audio pillars:
- A Distinct Voice Identity: Your voiceover should sound like a deliberate creative choice, not an afterthought. Whether it is a gravelly movie-trailer narrator, a high-energy hype-man, or a cool, analytical expert, the vocal tone must match your show's genre.
- A Signature Musical Motif: Instead of a generic background loop, select a short, distinct musical theme that has a clear build, a climax, and a resolving tail. This motif becomes an instant audio trigger for your returning audience.
- A Thematic Sound Effect (SFX): Subtle sound design—such as a vinyl scratch, a digital glitch, a deep sub-bass drop, or a camera shutter—helps segment the intro from the main episode content and adds cinematic weight.
Many creators attempt to use standard, built-in text-to-speech tools for this task, only to end up with a flat, robotic voiceover that immediately cheapens their brand. Standard text-to-speech systems fail because they read words sequentially without understanding subtext, emotional inflection, or dramatic pacing. A great intro requires a voice that can perform, not just read, which is where specialized AI character voices and targeted direction come into play.
Scripting for the Ear: The Three-Part Intro Template
Writing a script that is meant to be spoken and heard is fundamentally different from writing copy to be read on a screen. Written sentences are often long, complex, and grammatically formal. Spoken scripts, however, must be punchy, rhythmic, and highly conversational. If a sentence takes more than one breath to say, it is too long for a podcast intro.
To keep your intro tight and high-impact, use this proven three-part scripting framework designed to fit perfectly into a 10-second window:
- The Hook (0–3 seconds): Open with a provocative question, a startling fact, or a bold claim that addresses the core curiosity of your target listener. Avoid starting with "Welcome to..." or "In this episode...".
- The Identification (3–6 seconds): State the name of the show and the host with high clarity and energy. This anchors the brand in the listener's mind immediately after they have been hooked.
- The Vibe Check (6–10 seconds): Deliver a sharp, memorable tagline that sets the emotional tone of the podcast (e.g., comedic, mysterious, or intensely analytical).
Writing for the Ear vs. Writing for the Page
To illustrate the difference, compare how the same introductory concepts translate from written text to performance-ready spoken scripts:
| Written for the Page (Do Not Use) | Written for the Ear (Use This) |
|---|---|
| Welcome to the Tech Frontier Podcast, where we discuss the latest developments in artificial intelligence and machine learning with your host, David Miller. | AI is rewriting the human story. Fast. You’re listening to Tech Frontier, with David Miller. Let’s decode the future. |
| In this weekly true crime podcast, we will explore the unsolved mysteries and cold cases that have baffled investigators for decades. Here is your host, Sarah. | Some secrets are buried for a reason. This is Cold Case Files with Sarah. Don’t look back. |
| This is a comedy podcast called Laugh Out Loud where we talk about the funny things that happen in everyday life with comedians Jack and Sam. | Life is weird. We’re weirder. Laugh Out Loud with Jack and Sam. Hit subscribe, things are about to get ridiculous. |
Directing Your AI Voice: Pacing, Tone, and Persona
Once you have written a punchy, ear-friendly script, the next step is selecting and directing the voice. Fanfun’s extensive library of AI personas allows you to choose a voice that perfectly aligns with your show’s identity. If you are launching a gaming or pop-culture show, you might opt for a energetic anime-style voice; if you are hosting a gritty sports debate show, a gravelly, authoritative coach-like voice is a better fit. You can even experiment with playful, nostalgic tones using specialized options like a Doraemon voice generator to give your intro an instant, recognizable creative edge.
To get a natural, human-sounding performance from an AI voice generator, you must act as the director. Just as you would when directing custom AI voices for immersive campaigns, you need to use specific formatting hacks to guide the AI’s cadence, emphasis, and breathing patterns. AI models interpret punctuation as stage directions. By modifying your text input with deliberate punctuation, you can force dramatic pauses and natural inflections:
- The Ellipsis (...) for Dramatic Pauses: Use three periods to create a soft, lingering pause. For example, writing "The truth... is finally out" forces the AI to pause and build tension before delivering the final phrase.
- Hyphens (-) for Staccato Delivery: If you want the AI to deliver words with sharp, rapid-fire emphasis, connect them with hyphens. Writing "Fast-paced. High-stakes. No-nonsense." prevents the model from slurring the words together.
- Phonetic Spelling for Correct Syllable Emphasis: If the AI mispronounces your podcast name or host name, spell it out phonetically in the text input box. For example, change "Aegis" to "Ee-jis" to ensure the voice engine hits the correct vowels.
- Line Breaks for Structural Shifts: Inserting a hard return between your Hook, Identification, and Vibe Check signals a shift in tone to the AI generator, preventing the voiceover from sounding like one continuous, unhurried sentence.
Always match the voice's energy level directly to your subject matter. A high-energy, fast-talking voice is perfect for daily news roundups or tech reviews, but it will alienate listeners looking for a deep-dive history show or a relaxed interview format. For more advanced tips on guiding vocal performances, check out our guide on directing and mixing voice makers for high-quality audio.
The Audio Mixdown: Layering Music, SFX, and Voice
Once you have generated your custom AI voiceover file from Fanfun, the magic happens in the mix. Bringing your voiceover, music, and sound effects together into a cohesive, professional-grade master file requires a digital audio workstation (DAW) like Audacity, GarageBand, Reaper, or Adobe Audition.
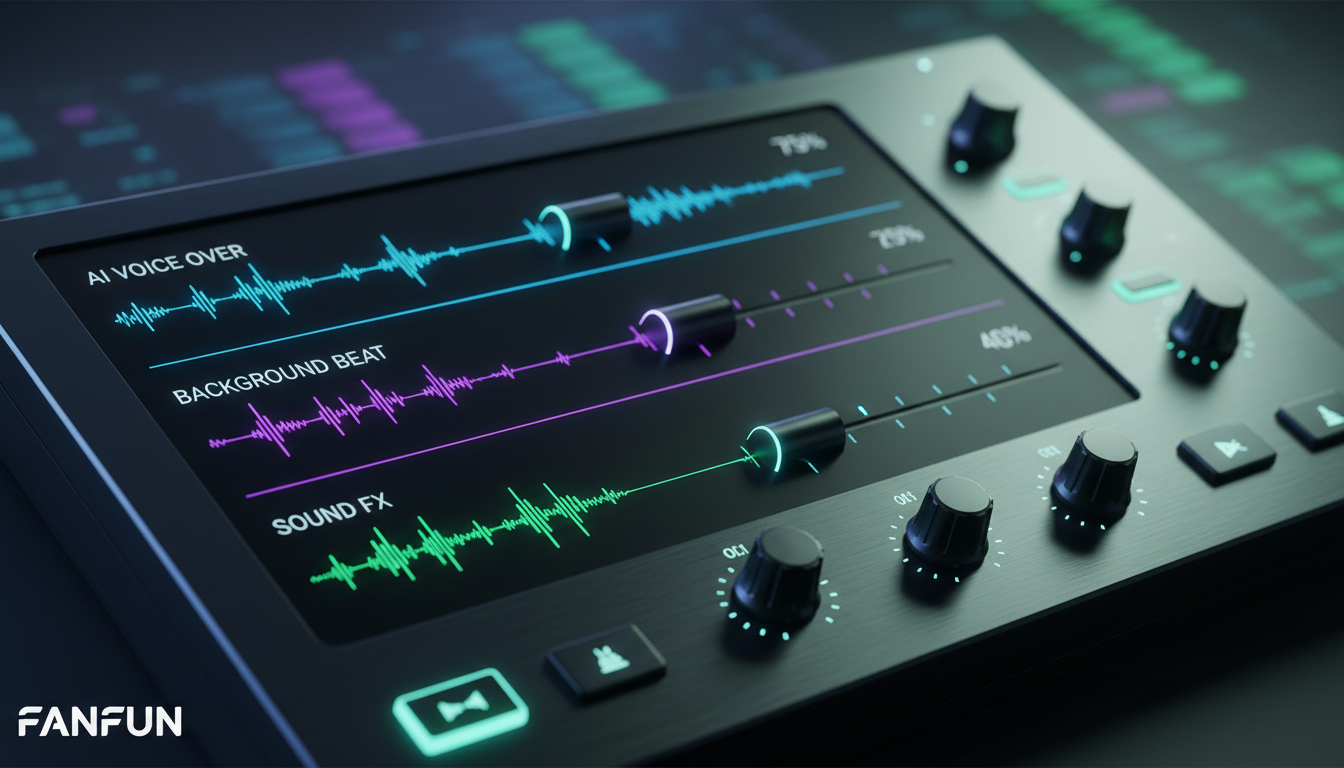
First, source a high-quality, royalty-free music track. When choosing music, look for tracks that leave "frequency space" for the human voice. Avoid tracks with heavy lead synthesizers, electric guitars, or vocals in the 1kHz to 4kHz range, as these will compete directly with your AI voiceover and make the words muddy and difficult to understand.
Once you have your assets ready, follow this step-by-step mixdown checklist to ensure a clean, professional sound:
- Import and Align: Import your voiceover, music track, and sound effects into separate tracks in your DAW. Align the start of the music with the 0-second mark, let it build for 1 to 1.5 seconds, and then place your first sound effect (e.g., a sweep or hit) right before the AI voice begins speaking.
- Apply Voice Ducking: Ducking is the process of lowering the music volume whenever the voiceover is speaking. You can do this manually by drawing volume automation points in your DAW, or automatically by setting up a sidechain compressor. Lower the music by 4dB to 6dB during the vocal lines, and let it swell back up during the pauses and at the end of the intro.
- Equalize (EQ) the Voiceover: To make your AI voice sound crisp and expensive, apply a high-pass filter to cut out low-end rumble below 80Hz. Next, add a gentle boost (1dB to 2dB) around 3kHz to 5kHz to enhance clarity and presence.
- Add Compression: Apply a light compressor to the voiceover track with a 3:1 ratio to even out the volume peaks, ensuring that every word is easily audible even if your listener is in a noisy environment.
- Export the Master File: Export your final mixdown. For the highest quality master file, export as an uncompressed 24-bit .WAV file at 44.1kHz. If you are uploading directly to a podcast host that requires smaller files, export as a constant-bitrate (CBR) .MP3 at 320kbps.
By mastering these basic post-production steps, you are effectively streamlining your audio mixing pipeline, allowing you to produce professional-grade audio assets on a fraction of a traditional studio budget.
Common Audio Branding Mistakes to Avoid
Before you bounce your final audio file and attach it to your upcoming episodes, run your intro through this quick quality-assurance checklist to avoid common amateur mistakes:
- The "Too Long" Trap: Keep your intro under 15 seconds. While a 30-second cinematic intro might feel epic the first time a listener hears it, it becomes an annoying obstacle by episode five. Respect your listener’s time; get in, make an impact, and get out.
- The Volume War: Ensure your intro’s integrated loudness matches the rest of your episode. A common rookie mistake is mastering the intro to be incredibly loud, forcing listeners to scramble to turn down their headphones, only to have to turn them back up when the host starts speaking. Use a loudness meter to target -16 LUFS (for stereo podcasts) across your entire episode.
- Over-Processing and Reverb Mud: It can be tempting to drown your AI voice in reverb, delay, or heavy distortion to make it sound "cool." However, excess spatial effects quickly destroy speech intelligibility. Keep spatial effects subtle, or use a "dry" vocal track with a high-quality room reverb mix of no more than 5% to 10% wetness.
How long should a podcast intro be?
A professional podcast intro should ideally be between 8 and 15 seconds long. Anything longer than 15 seconds risks frustrating recurring listeners who want to get straight to the main content of the episode. Keep your hook, branding, and tagline concise and punchy.
Can I use AI voices for commercial podcast intros?
Yes, you can use AI-generated voices for commercial podcasts, promos, and sponsorships. However, it is essential to use a platform like Fanfun that provides clear licensing and terms of use for content creators, ensuring your audio branding remains secure and compliant.
What is the best free software to mix my podcast intro?
For beginners on a budget, Audacity (Windows/Mac) and GarageBand (Mac) are excellent, highly capable free options. If you are looking for a more advanced, free-to-try digital audio workstation (DAW) with professional-grade mixing tools, Reaper is widely considered the industry standard for podcasters.
How do I make my AI voice sound more natural and less robotic?
To make an AI voice sound natural, use punctuation hacks in your text input. Insert ellipses (...) for pauses, hyphens to separate quick words, and commas to mimic natural breathing. Additionally, choosing high-quality voice models from Fanfun and applying light EQ and compression in your DAW will give the voice a polished, studio-recorded feel.