The Animator's Audio Pipeline: How to Direct, Sync, and Mix Custom AI Voices Without a Studio Budget
Audio is half of the animation experience, yet voice acting remains the biggest bottleneck for indie creators. Master this agile, step-by-step pipeline to direct, sync, and mix high-quality AI character voices on an independent budget.
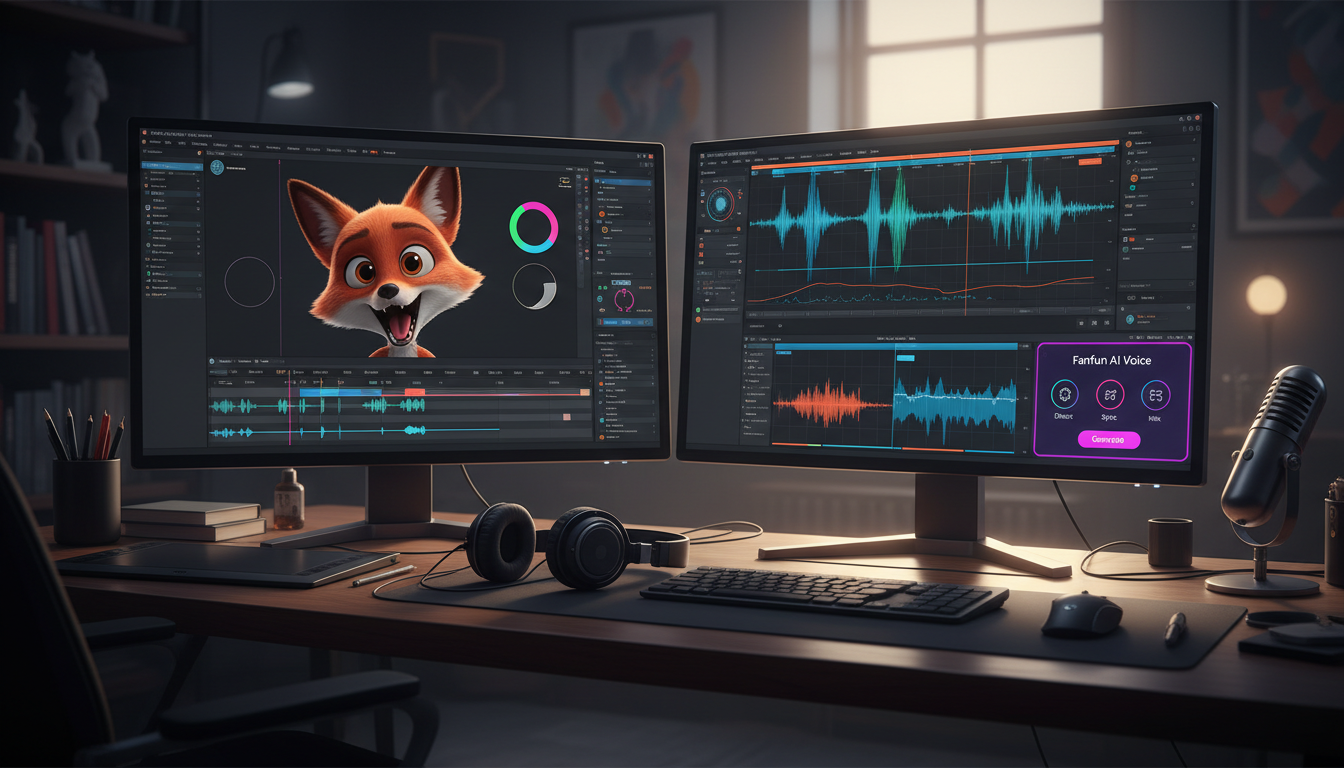
Animation is fundamentally a visual medium, but it is driven by sound. A stunning 3D render or a beautifully hand-drawn 2D sequence falls completely flat if the dialogue sounds like a dry, uninspired table read. For independent animators, however, securing high-quality voice acting is often the single greatest bottleneck in the production pipeline, draining modest budgets before a single frame is finalized.
Instead of letting your project stall in pre-production, modern creators are turning to a more agile solution: treating AI voice generation as a directable, digital voice cast. By mastering the pipeline from script to timeline, you can bypass the traditional studio bottleneck, iterate on dialogue instantly, and allocate your hard-earned budget directly to visual polish.
The Animation Bottleneck: Why Voice Acting Halts Independent Production
In a traditional animation workflow, audio is the foundation. You cannot easily animate lip-sync or time comedic beats without the final voice tracks locked in. This creates a rigid dependency: if a voice actor is delayed, if a line needs to be rewritten, or if a recording contains unwanted background hiss, the entire animation pipeline grinds to a halt. Coordinating retakes, renting studio space, and negotiating licensing terms can quickly make indie projects commercially unviable.
This is where an instant AI voice generator changes the game. Instead of waiting days for a voice talent agency to return a single revised line, tools like Fanfun allow you to generate, test, and tweak character dialogue in minutes. This enables an iterative, non-linear workflow where scratch tracks can be generated instantly to test timing, and then easily upgraded to production-ready assets without leaving your desk. To get the most out of this technology, you must stop treating AI as a passive text-to-speech tool and start active direction. To understand how this fits into the broader creative landscape, explore our comprehensive guide on bringing iconic animation voices to life using AI.
Step 1: Writing and Formatting Scripts for Vocal Performance
AI voice engines do not read scripts the way humans do; they do not automatically understand subtext, irony, or dramatic tension. Instead, they interpret your punctuation, spelling, and spacing as direct performance instructions. If you input a standard, grammatically perfect script, the output will likely sound like a standard, grammatically perfect robot.
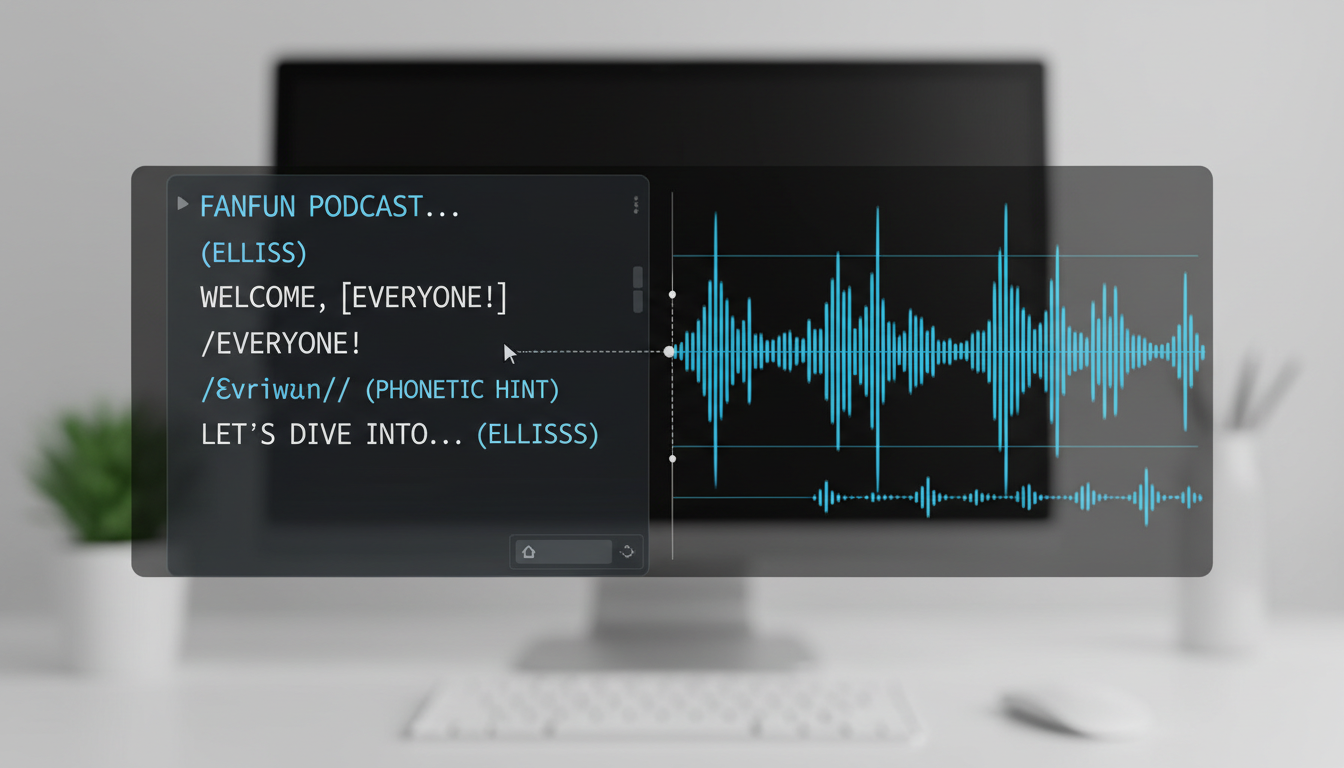
To inject life into your character's voice, you must write phonetically and use punctuation strategically. Commas introduce natural, brief pauses for breath. Ellipses create hesitations or trailing thoughts, while exclamation points force a sudden burst of energy and volume. Additionally, phonetic spelling is your best defense against mispronounced fantasy names, slang, or regional accents. If your character is named "Xylar," spelling it "Zy-lar" or "Zailar" in the generator input ensures the engine nails the pronunciation on the first take. If you are working on shorter, faster-paced content, check out our character meme blueprint for tips on scripting and pacing AI voices for comedy.
The Punctuation Playbook for AI Voice Inflection
To force specific inflections, pauses, and emotional beats, use this markup guide when formatting your scripts for generation:
- The Double Dash (--): Use this for sudden self-interruptions, abrupt shifts in thought, or moments where a character gets cut off.
- Capitalization: Capitalizing entire words can force the AI to place heavier emphasis on that word, though overusing it can make the voice sound overly aggressive.
- Line Breaks: Inserting a hard return between sentences forces a distinct break in the vocal rhythm, simulating a transition to a new thought or action.
| Standard Script Line | AI-Optimized Script Line | Intended Vocal Performance |
|---|---|---|
| "I don't know what you mean, but stop it." | "I... don't know *what* you mean-- but... STOP IT!" | Hesitant opening, heavy emphasis on "what," abrupt pivot, followed by a high-energy command. |
| "Get out of there before it explodes!" | "Get out of there... BEFORE IT EXPLOS-Z!" | A tense pause of realization, followed by panicked, high-volume urgency with a sharp phonetic ending. |
Step 2: Directing and Generating the Custom Voice Track
Once your script is formatted, the next step is selecting the right vocal profile and generating your audio assets. In animation, a voice must match the physical weight, age, and style of the character model. A hulking, battle-scarred warrior needs a voice with deep chest resonance, while a hyperactive sidekick requires a lighter, rapid-fire cadence.
When using Fanfun's character library, you can browse diverse vocal archetypes to find the perfect match for your visual design. Read our guide on nailing iconic character voices to learn how to choose the right vocal profile for your project. Once you select a voice, do not expect perfection on the very first generation. Treat the interface like a recording booth: generate three to five takes of the same line, making subtle adjustments to spelling or punctuation in each run. This gives you a variety of vocal inflections to choose from when editing. Always export your final selections as uncompressed WAV files; MP3s compress the audio data, leaving you with less frequency detail to work with during the mixing phase.
Step 3: Lip-Syncing and Audio Post-Production
With your clean WAV files imported into your animation software, the technical task of lip-syncing begins. Animators generally choose between automated lip-syncing tools—such as Adobe Character Animator or Blender's Rhubarb Lip Sync addon—and manual keyframing. While automated tools are incredibly efficient for background characters or long dialogue scenes, hero characters usually require manual adjustment to ensure the mouth shapes (visemes) match the emotional intensity of the voice.
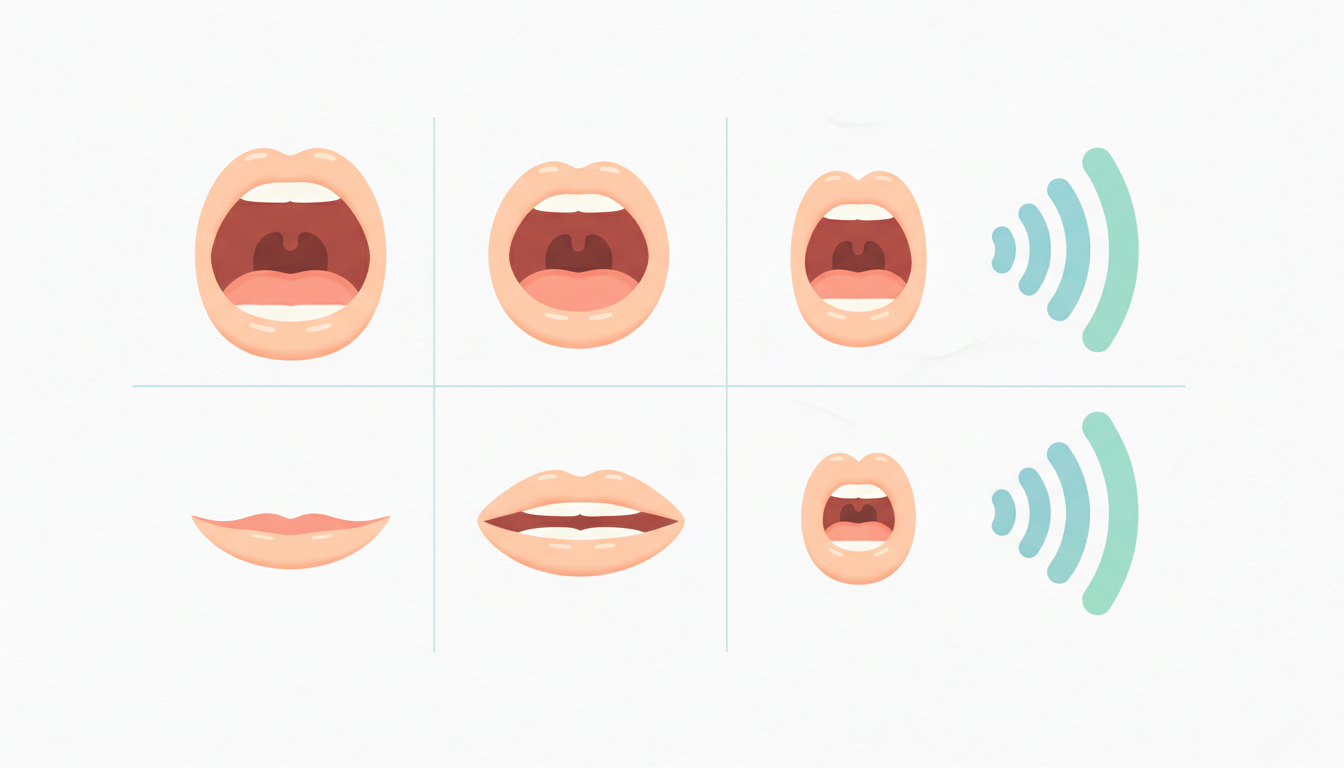
When mapping visemes to the audio waveform, look for key phonetic anchors. The closed-lip sounds like 'M', 'B', and 'P' (bilabial consonants) are the most critical to align perfectly; if these are off by even a single frame, the illusion of speech breaks. Similarly, 'F' and 'V' sounds require the upper teeth to touch the lower lip. Once the shapes are aligned, you must "seat" the AI voice into the physical space of your animated scene using basic audio post-production effects:
- Equalization (EQ): Cut out muddy low frequencies (below 80Hz) to clean up the vocal track. Slightly boost the presence range (2kHz to 5kHz) to help the dialogue cut through background music.
- Compression: Apply mild compression to smooth out the volume peaks, ensuring that whispered words and shouted lines remain consistently audible.
- Convolution Reverb: An AI voice is generated in a sterile digital environment. Apply a subtle room reverb that matches your scene's visual setting—whether it is a tight, wooden-walled cabin or a vast, metallic spaceship corridor.
The Indie Animator's Audio Workflow Checklist
To ensure consistency across your animation projects, follow this structured, step-by-step pipeline from pre-production to the final mixdown:
| Phase | Action Item | Key Pitfall to Avoid |
|---|---|---|
| 1. Pre-Generation | Format script with punctuation markup and phonetic spellings for non-standard words. | Do not use standard grammatical spelling for slang or complex fantasy names. |
| 2. Generation | Generate 3-5 takes per line on Fanfun, tweaking punctuation between runs, and export as WAV. | Avoid exporting in MP3 format, which degrades audio quality and limits post-production flexibility. |
| 3. Alignment | Import audio to the animation timeline. Align primary visemes (M, B, P, F, V) to the waveform peaks. | Do not rely 100% on automated lip-sync tools for close-up, high-emotion shots. |
| 4. Mixing | Apply EQ presence boosts, gentle compression, and environmental reverb to match the scene. | Do not leave the vocal track completely dry, or it will sound disconnected from the visual world. |
How do you sync AI-generated voices to 2D or 3D animation?
To sync AI-generated voices, first export your generated audio as an uncompressed WAV file and import it into your animation timeline. You can use automated lip-sync tools to generate a baseline of mouth shapes (visemes) based on the audio frequencies. For key scenes, manually adjust the keyframes for prominent consonants (like M, B, P, and F) to ensure the mouth shapes perfectly match the vocal hits on the waveform.
Can I use AI voice generators for commercial animation projects?
Yes, but it depends on the platform's terms of service and licensing agreements. When using Fanfun, creators can access voice profiles designed for scalability and content creation. Always ensure you are using licensed voices or platform-approved characters to avoid copyright issues when commercializing your animated content.
What is the best way to get expressive, emotional performances from an AI voice?
The secret lies in script formatting. AI engines interpret punctuation as direction. Use ellipses (...) to create dramatic pauses, double dashes (--) to simulate sudden interruptions, and capitalization to force vocal emphasis. Generating multiple takes with slight variations in spelling or punctuation will also yield different emotional inflections for your scene.
How do animators match mouth shapes (visemes) to AI voiceovers automatically?
Animators use software like Adobe Character Animator, or plugins like the Rhubarb Lip Sync addon in Blender. These tools analyze the audio waveform, identify the spoken phonemes, and automatically map them to corresponding pre-drawn 2D mouth assets or 3D character shape keys, saving hours of manual labor.