The Animator's Soundstage: How to Direct a Custom Voice Generator for Dynamic Character Animation
Stop relying on flat, lifeless scratch tracks. This complete guide shows indie animators how to treat custom voice generators as virtual voice actors, using advanced script formatting and timing techniques to bring dynamic characters to life.
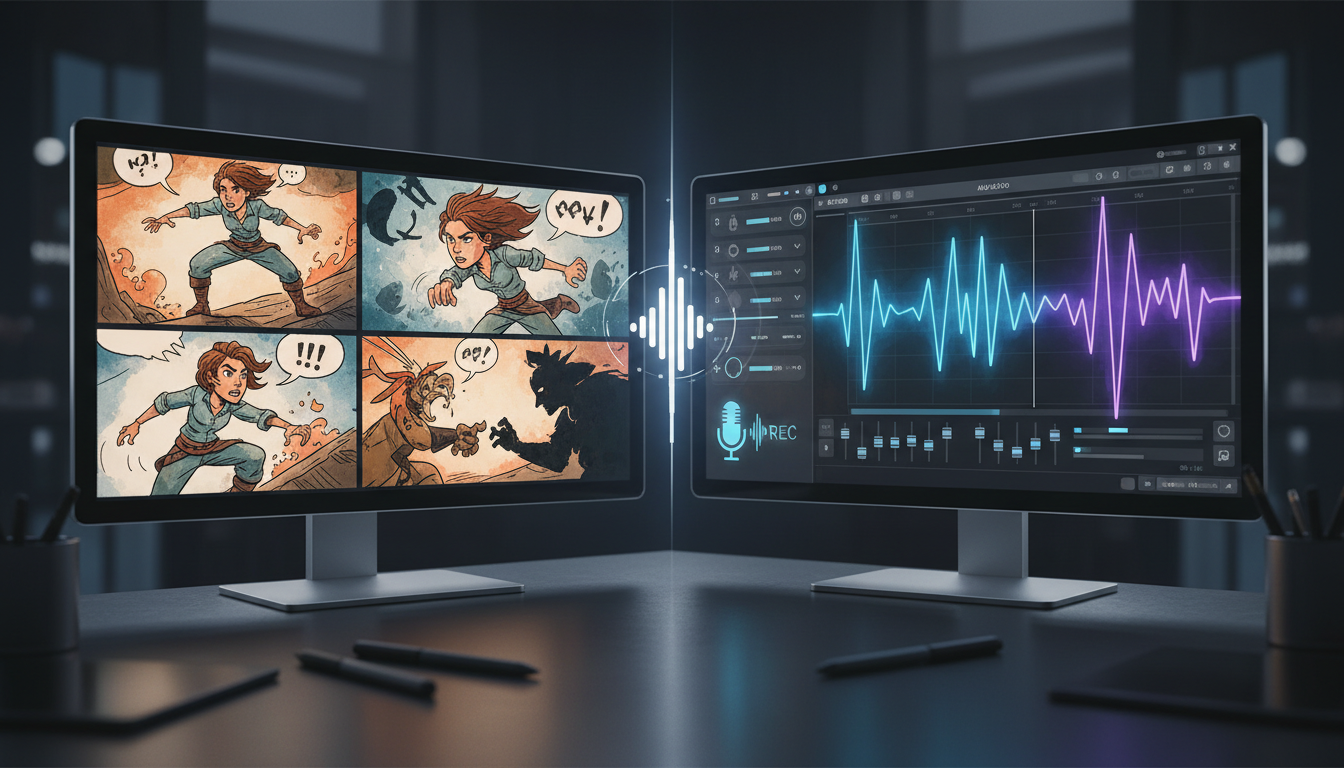
For indie animators, the creative momentum of a project often grinds to a halt at the recording booth. Waiting weeks for voice talent to deliver files, paying high studio fees for minor script revisions, or settling for flat, uninspiring scratch tracks can drain the life out of a promising storyboard before the first keyframe is even drawn.
Modern AI voice generators are transforming this bottleneck into an active creative playground. By treating these tools not as static text-to-speech engines but as virtual voice actors waiting for direction, animators can prototype, iterate, and produce expressive, character-driven audio in minutes. Platforms like Fanfun allow creators to bridge the gap between imagination and execution instantly, ensuring that your characters sound exactly as they look.
Beyond Scratch Tracks: The Rise of the AI Voice Actor in Modern Animation
In traditional animation pipelines, the "scratch track" is a necessary evil. Usually recorded by the animator themselves into a cheap microphone in a closet, these temporary voice tracks serve as a rough guide for timing and lip-syncing. The problem is that poor scratch tracks lack the emotional nuance, energy, and correct pacing of the final performance. Animating to a flat, monotone voiceover often results in flat, monotone movement, forcing animators to redo hours of keyframing once the professional voice actors finally deliver their lines.
By contrast, a custom voice generator acts as an instant, tireless collaborator standing in your virtual recording booth. Instead of treating AI voiceovers as a low-quality placeholder, modern animators are using them to test dialogue timing directly against their storyboards in real time. If a line doesn't fit the visual pacing of a scene, you don't have to schedule a pickup session; you simply rewrite the text, adjust the settings, and generate a new take in seconds.
At Fanfun, we view this technology as a massive step forward for independent creators. By democratizing access to a diverse library of character voices, cultural icons, and stylized tones, animators can instantly elevate their animatics from rough storyboards to cinematic proofs-of-concept. This speed allows for rapid creative experimentation, letting you test different vocal deliveries, comedic timing, and dramatic pauses before committing to final rendering.
Casting Your Virtual Ensemble: Finding the Right Archetype
A common mistake in indie production is casting a voice that clashes with the visual design of the character. When choosing a voice from an AI generator, you must analyze your character's visual silhouette, color palette, and personality traits to determine their vocal weight, pitch, and overall tempo.
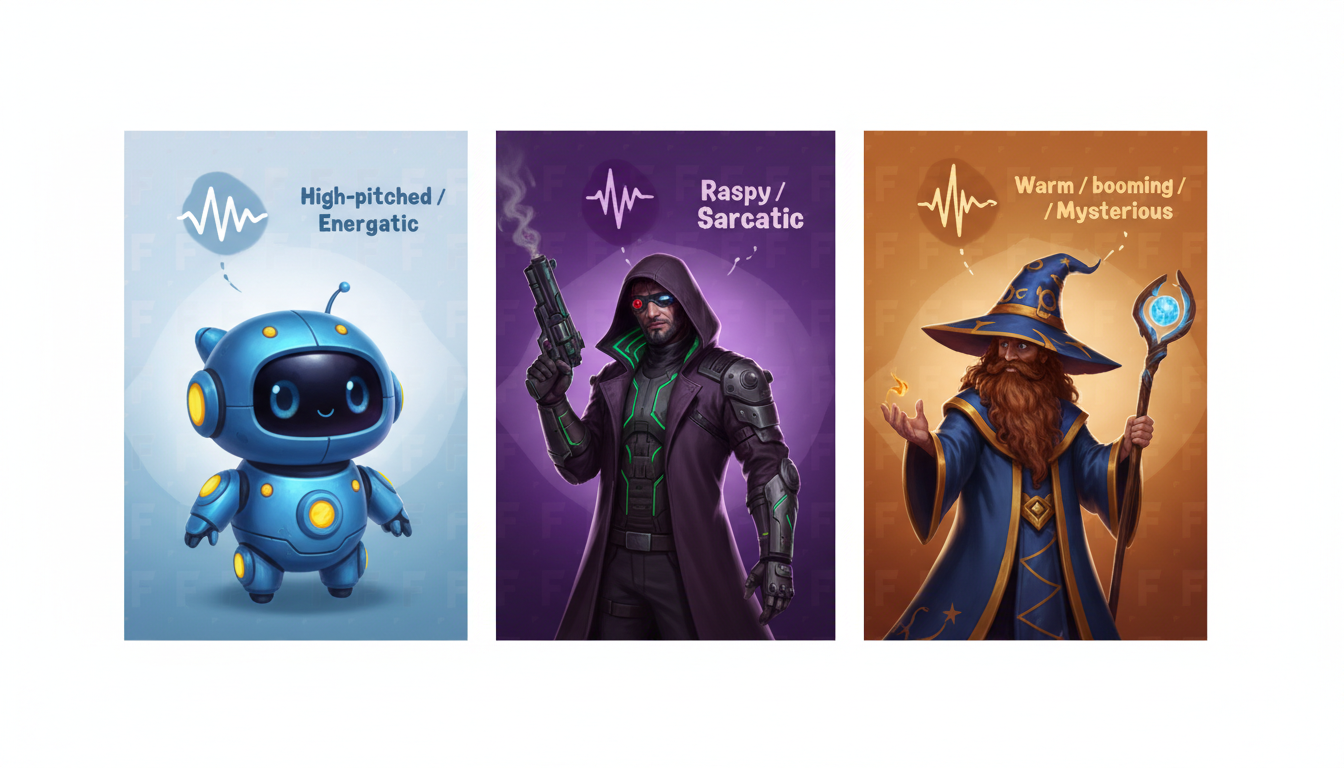
For example, a bulky, blocky character designed with heavy lines and warm, earthy tones naturally demands a voice with low-frequency resonance and a slower, deliberate cadence. Conversely, a sharp, triangular character with bright, saturated colors often benefits from a higher pitch, faster tempo, and sharper sibilance. By aligning these physical and vocal traits, you create a cohesive character that audiences find instantly believable.
Building a diverse cast of characters usually requires hiring multiple voice actors, which can quickly drain an indie budget. With a custom voice generator, you can construct a sprawling virtual ensemble—from whimsical sidekicks to gritty, dramatic protagonists—without stretching a single human actor too thin or risking vocal fatigue. The table below outlines how to map visual design traits to specific vocal profiles in your generator:
| Visual Archetype | Physical Design Cues | Vocal Weight & Pitch | Tempo & Cadence |
|---|---|---|---|
| The Gritty Protagonist | Sharp angles, dark colors, battle-worn details | Heavy, low pitch, raspy texture | Slow, measured, high pause frequency |
| The Whimsical Sidekick | Rounded shapes, bright colors, expressive eyes | Light, high pitch, clear texture | Fast, erratic, energetic inflections |
| The Calculating Villain | Symmetrical lines, cold colors, minimalist design | Medium, balanced pitch, smooth/icily precise | Deliberate, steady, long pauses for tension |
| The Ancient Mentor | Flowing shapes, muted/earthy tones, complex textures | Light-to-medium, soft pitch, breathy/aged texture | Slow, rhythmic, descending inflections at line ends |
Matching Voice Textures to Visual Aesthetics
Aligning Audio Style with Art Style
Just as a hyper-realistic 3D render would look bizarre paired with a flat, hand-drawn 2D background, a hyper-realistic, cinematic voice can clash dramatically with stylized, retro animation. If your project is a love letter to Saturday morning cartoons from the 1930s or 1980s, your voice tracks need to carry the warmth, slight distortion, and exaggerated theatricality of those eras. Understanding how to bridge this gap is essential; we recommend exploring our guide on directing retro cartoon voice text-to-speech for vintage aesthetics to master the art of matching old-school visuals with authentic, period-accurate audio textures.
Leveraging Nostalgia and Pop-Culture Energy
For fast-paced, modern internet animation—such as TikTok memes, YouTube shorts, or web pilots—harnessing instant cultural familiarity is a powerful way to hook your audience. Using recognizable vocal archetypes allows you to establish character dynamics in seconds without lengthy exposition. For instance, if you are animating a playful, chaotic scenario, using a Doraemon voice generator for instant character prototyping can inject a whimsical, high-energy cartoon tone that perfectly matches exaggerated squash-and-stretch animation style.
The Director’s Script: Formatting Text-to-Speech for Expressive Performance
You cannot direct an AI voice generator by simply pasting in a block of standard text and clicking "generate." To coax deep emotional range, correct pacing, and believable inflections from a virtual actor, you must learn to format your script using specific punctuation hacks and phonetic spelling workarounds. This process is very similar to how a director marks up a physical script with notes on breath, emphasis, and subtext. For a deeper dive into these techniques, check out our complete audio drama blueprint for cinematic voice direction.
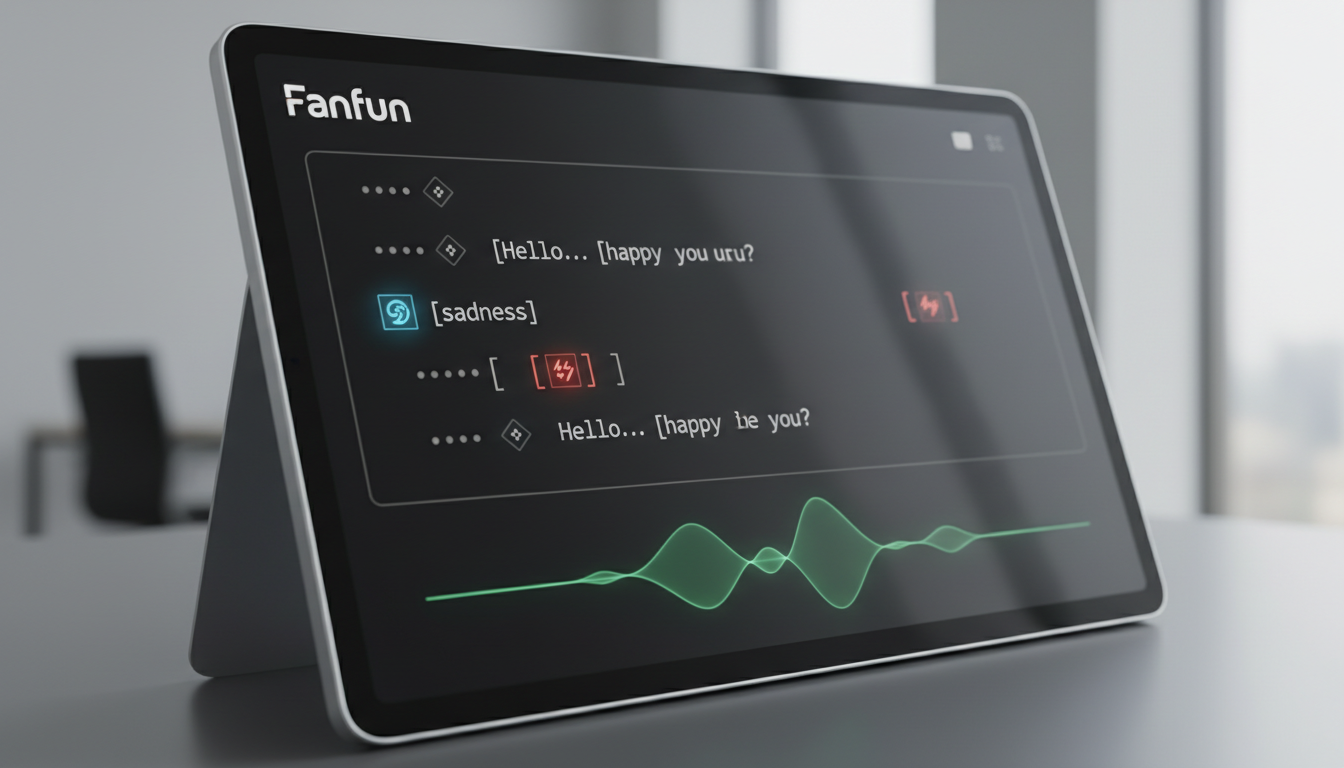
To get started, use these three essential formatting rules in your text input field:
- Punctuation for Pacing: Use ellipses (
...) to force the generator to take a breath or hesitate. Use em-dashes (—) to create sudden, sharp cutoffs in dialogue, which are perfect for action scenes or moments when a character is interrupted. - Capitalization for Emphasis: While some generators respond to tags like
[angry]or[whisper], almost all of them react to capitalization. Typing a word in ALL CAPS can signal the system to apply more vocal force, raising the volume and intensity of that specific word. - Phonetic Spelling Workarounds: AI generators often struggle with complex fantasy names, sci-fi terms, or localized slang. If the generator mispronounces a word, spell it out phonetically. For example, write "matrix" as "may-trix" or "cyberpunk" as "sigh-ber-punk" to ensure a natural cadence.
Use the following cheat sheet to quickly map common punctuation choices to their physical, animated equivalents on your timeline:
| Punctuation / Formatting | Vocal Effect Generated | Animation Timeline Equivalent (Keyframes) |
|---|---|---|
Word... word (Ellipsis) | A natural, breathing pause or hesitation | Character shifts weight, blinks, or looks away |
Word— ! (Em-dash + Exclamation) | Sudden cutoff, sharp rise in pitch at the end | Startle reaction, sudden head turn, impact frame |
W O R D (Spaced Capitalization) | Slowed down, highly emphasized pronunciation | Extreme mouth shapes (visemes), head nods for emphasis |
(whispering) word (Parenthetical cue) | Lowered volume, breathy air texture | Character leaning forward, shoulders hunched, eyes narrowed |
Syncing Audio to Keyframes: Workflow Integration for Animators
Once you have directed your virtual actor and generated the perfect take, the next step is integrating that audio into your production pipeline. To maintain absolute control over your animation, avoid importing raw, uncompressed files directly from your browser into your animation software. Instead, follow this professional post-processing workflow:
- Export in High Fidelity: Always download your generated voiceovers in uncompressed formats like WAV or FLAC. This preserves the high-frequency details of the voice, which are crucial for clear lip-syncing and preventing the audio from sounding muddy after you apply sound effects.
- Use Automated Phoneme-Mapping: If you are using 2D animation suites like Adobe Character Animator, Toon Boom Harmony, or open-source tools like Papagayo, you can import your WAV files to automatically generate mouth shapes (visemes). Because AI-generated voices have consistent, clean waveforms, these automated tools can map phonemes with incredible accuracy, saving you hours of manual keyframing.
- Fine-Tune in a DAW: Before locking your audio to the timeline, bring the track into a Digital Audio Workstation (DAW) like Audacity, Reaper, or Premiere Pro. Here, you can stretch or compress specific words to match the physical speed of your character's actions, add subtle ambient room tone to make the voice feel like it exists in a real physical space, or apply equalization to match the scene's environment (such as adding a slight echo for a cavernous room).
When animating highly expressive sequences, remember that the voice should always drive the body movement. By directing AI voice generators for deep emotional range, you ensure that your character's physical gestures—like a slumped shoulder during a sigh or a sudden hand gesture on an emphasized word—are perfectly synchronized with the vocal performance.
Ethical AI Casting: Navigating Fan Projects, Original IPs, and Commercial Scaling
As AI voice technology becomes a staple of the animator's toolkit, understanding the ethical and legal landscape is vital for protecting your hard work. The rules of engagement change depending on whether you are creating a non-commercial fan parody or developing an original intellectual property (IP) that you hope to monetize.
For fan dubs, parodies, and animatics published to platforms like YouTube or TikTok, using celebrity-inspired or character-inspired voices is generally celebrated within creative communities as a form of transformative fan art. However, if your goal is to pitch an original pilot to a streaming network, enter film festivals, or monetize your animation through merchandise and ad revenue, you must ensure your voice assets are fully cleared.
This is where choosing the right platform matters. Fanfun is committed to supporting creators by providing transparent terms of service and a growing library of licensed character voices. By utilizing platforms that respect creative rights and intellectual property, you can safely scale your project from a quick viral short to a fully realized, commercially viable indie series without the fear of copyright strikes or legal complications.
Can I use an AI voice generator to automatically lip-sync my 2D animated characters?
Yes. While the voice generator itself only produces the audio file, you can import the generated WAV or MP3 file into animation software like Adobe Character Animator, Toon Boom Harmony, or Blender. These programs analyze the vocal frequencies and phonemes of the AI voice to automatically generate corresponding mouth shapes (visemes) on your character rig, drastically reducing manual lip-syncing time.
How do I make an AI voice sound like it is screaming, crying, or whispering in an animation scene?
To achieve extreme emotional ranges, use a combination of text formatting and audio post-processing. For whispering, use parenthetical cues like (whispering) or lower the volume settings in your generator. For screaming or crying, use ALL CAPS, exclamation points, and spaced lettering (e.g., "N O ! ") to force a higher intensity. You can also layer subtle sound effects (like heavy breathing or sobbing) in a DAW behind the AI track to sell the emotion.
Is it legal to use AI character voices in my indie animated YouTube series or web pilot?
It depends on the voice and how you plan to monetize. Non-commercial fan projects, parodies, and memes generally fall under fair use or transformative fan art. However, if you are creating an original IP for commercial sale, licensing, or ad monetization, you must use original voices or legally cleared, licensed voices from platforms like Fanfun to avoid copyright claims.
What is the best audio format to export from a voice generator for import into Blender or Maya?
Always export your audio as an uncompressed 16-bit or 24-bit WAV file at a sample rate of 44.1kHz or 48kHz. Uncompressed formats preserve the crisp high and low frequencies of the vocal track, which prevents distortion when importing the audio into 3D software like Blender or Maya for timing and lip-sync keyframing.