The FYP Soundboard: How to Craft and Layer Custom AI Voiceovers for TikTok and Reels
Bypass the robotic, overused native text-to-speech voices on TikTok and Instagram Reels. Discover how to script, customize, and professionally layer custom AI voiceovers that capture attention in the first three seconds.
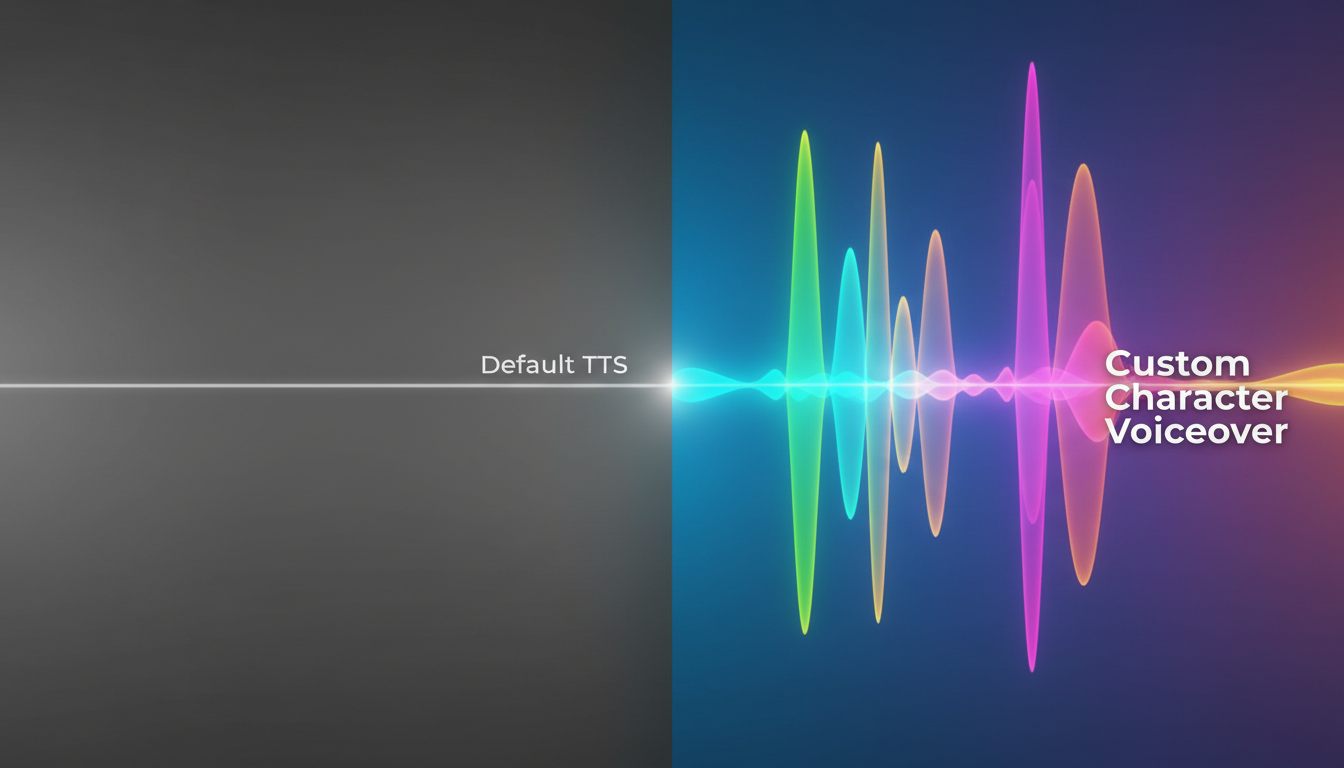
Think about the last time you scrolled through your TikTok For You Page (FYP) or Instagram Reels. Within milliseconds of hearing that cheerful, robotic "Jessie" voice or the generic Siri text-to-speech narrator, your brain likely registered it as background noise and prompted your thumb to swipe up. When every second creator relies on the exact same native robotic voices, those sounds cease to be helpful tools—they become instant scroll triggers.
To break through the noise, elite creators are treating audio as a core element of their visual identity. By moving away from flat native tools and designing custom, high-character AI voiceovers, you can build a signature sonic brand that commands attention from the very first frame.
Why Native TikTok Text-to-Speech is Killing Your Retention
We have reached peak text-to-speech (TTS) fatigue. When native voice options first launched, they offered an accessible way to narrate videos without showing your face or recording your own voice. Today, however, those default voices trigger an immediate skip reflex. Audiences have been conditioned to associate these monotonous narrators with low-effort dropshipping ads, repetitive meme reposts, and automated content farms.
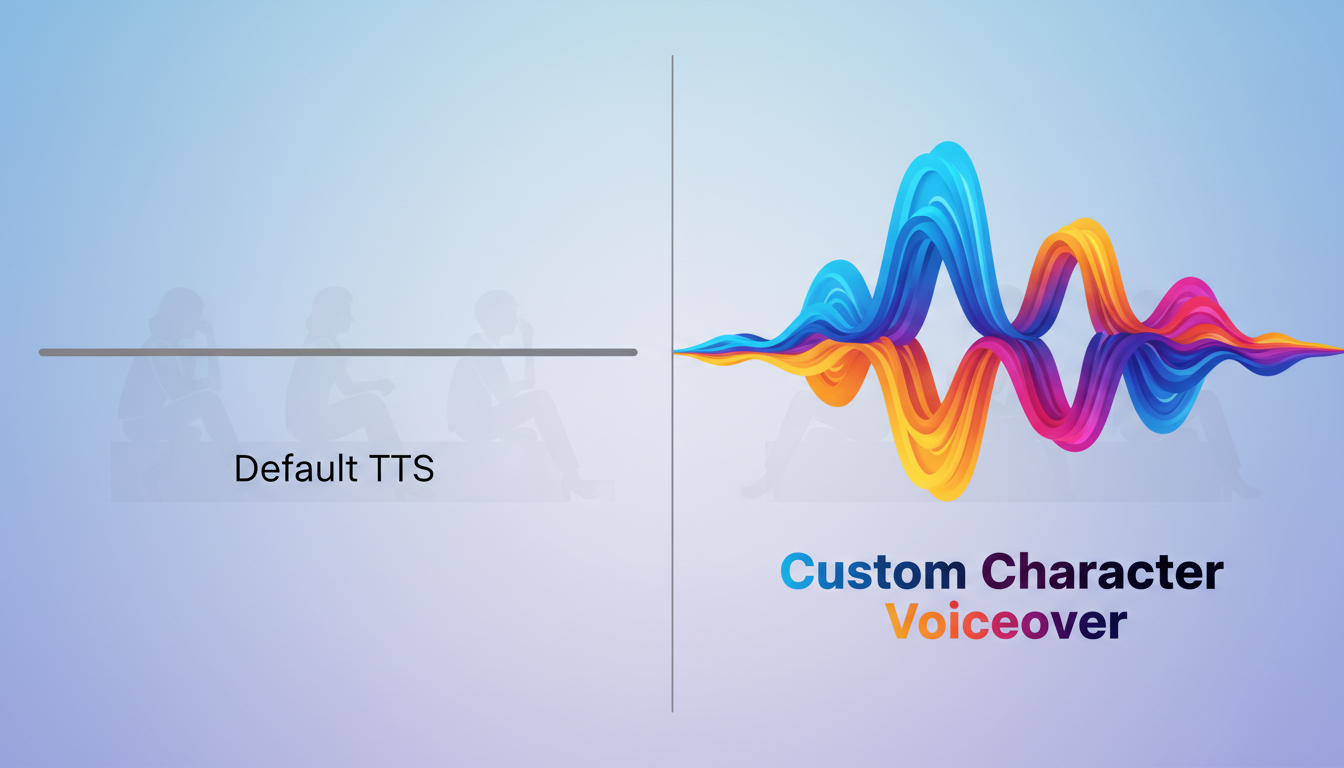
If you want to build a real audience, you need a distinct sonic identity. Just as a signature color palette or editing style makes your videos recognizable, a unique voiceover profile establishes instant channel recognition. By breaking free from TikTok's overused TTS voices, you unlock a much broader emotional range, allowing you to inject humor, sarcasm, or dramatic flair that native tools simply cannot replicate.
This is where Fanfun shines. Instead of limiting you to a handful of generic, robotic narrators, Fanfun serves as the ultimate creative sandbox. It lets you instantly generate high-character, celebrity-inspired, and fictional voiceovers that sound deliberate, engaging, and perfectly matched to your content's mood. Whether you need a booming movie trailer narrator or a familiar anime-inspired voice, you can generate high-quality audio files in minutes.
Scripting for Short-Form Audio: Writing for the Ear, Not the Eye
Writing a script for an AI voice generator requires a complete shift in perspective. When we write for the eye, we use standard grammar and punctuation. But when you write for the ear—and specifically for AI voice synthesis—you must write phonetically and structurally to guide the AI's natural speech patterns. If you copy and paste a standard blog post or caption directly into a generator, the result will often sound rushed, flat, or awkwardly paced.
Successful creators treat their scripts like musical scores. This process of casting and scripting custom voice text-to-speech involves using punctuation as directional cues. For example, a comma tells the AI to take a brief, natural breath. An ellipsis (...) creates a dramatic, suspenseful pause, while all-caps can sometimes coax the engine into emphasizing a specific word.
The Phonetic Spelling Cheat Sheet
To get the absolute best results from your voice generator, you must bypass standard spelling rules for complex words, brand names, or internet slang. The table below outlines how to rewrite common terms to ensure the AI pronounces them flawlessly on the first try:
| Word/Phrase | Standard Spelling | Phonetic AI Spelling |
|---|---|---|
| TikTok | TikTok | Tick-Tock |
| CapCut | CapCut | Cap-Cut |
| Algorithm | Algorithm | Al-go-rhythm |
| Fanfun | Fanfun | Fan-fun |
| Reels | Reels | Reals |
| GIF | GIF | Jif |
| POV | POV | P-O-V |
By structuring your script with these phonetic adjustments and pacing cues, you ensure the generated audio flows naturally without awkward mispronunciations that break the viewer's immersion.
Generating Your Custom Voiceover: Finding the Right Persona
Selecting the right vocal archetype is just as important as the script itself. A mismatch between your video's visual style and its audio persona will confuse your audience and hurt retention. For instance, a fast-paced gaming edit benefits from an energetic, high-octane character voice, while a cozy product review or a daily vlog demands a warm, conversational, and grounded narrator.
By exploring Fanfun’s extensive library, you can pinpoint the exact persona that fits your content niche. Instead of settling for a generic narrator, you can choose from a massive roster of character voices, cultural icons, and stylized personas. This allows you to treat your voiceovers as active creative choices. If you are editing an anime compilation, using an energetic, stylized anime protagonist voice instantly signals to your community that you understand their culture.
The secret to mastering this lies in choosing and directing digital voiceover tools with intent. Don't just accept the first generation. Experiment with different character profiles, adjust the pacing, and try varying the tone of your script until the voice sounds like a deliberate, stylized choice rather than an afterthought.
Step-by-Step: How to Layer and Sync Custom Voiceovers in Your Video Editor
Once you have generated your custom voiceover on Fanfun, the real magic happens in your editing software. Whether you are using CapCut on your phone or Premiere Pro and DaVinci Resolve on your desktop, how you layer and mix your audio tracks will determine if your video feels professional or amateurish.
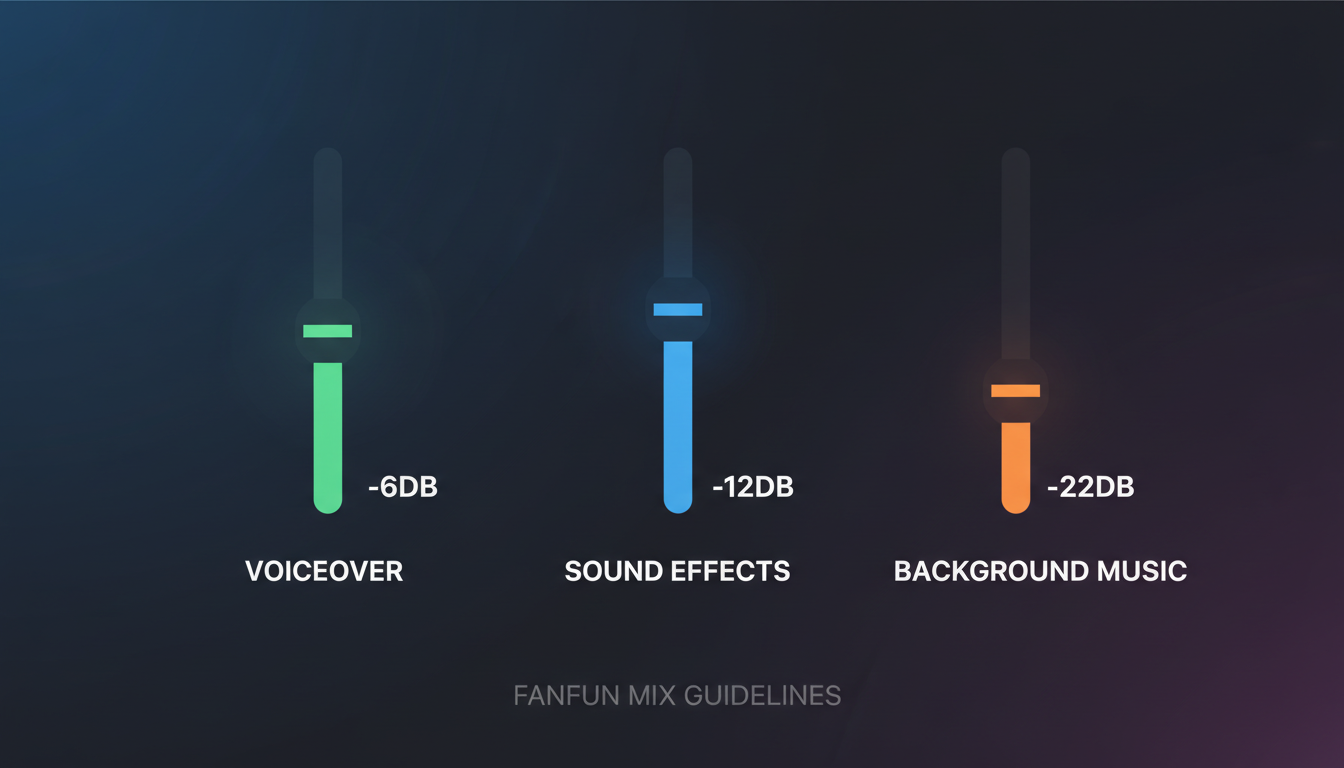
Start by exporting your high-quality audio file from Fanfun and importing it directly into your video editor. To keep your viewers engaged, you must master layering custom character voiceovers with background music and sound effects. This requires dynamic "Audio Ducking"—the process of automatically or manually lowering the volume of your background music whenever the voiceover track is active. In editors like CapCut, you can easily enable auto-ducking with a single toggle, ensuring your dialogue is never drowned out by a loud beat.
To elevate the production value even further, sync micro-sound effects (SFX) with key transitions or emphasized words in your voiceover. Adding a subtle "whoosh" sound effect during a scene transition or a soft "pop" when a text graphic appears on screen anchors the audio to the visuals. This creates a cohesive, multi-sensory experience that keeps eyes and ears locked to the screen.
The Short-Form Audio Mixing Cheat Sheet
To ensure your audio sounds crisp and balanced on mobile speakers, use this quick decibel (dB) guide when mixing your tracks:
- Main Voiceover: -6dB to -3dB (This must remain the loudest, clearest element in the mix).
- Sound Effects (SFX): -15dB to -10dB (Should be audible and punchy but never startle the listener).
- Background Music (BGM): -24dB to -18dB (Keep it low and atmospheric; duck it down an additional 3-5dB when the voiceover is speaking).
Troubleshooting Common Custom Voiceover Mistakes on TikTok
Even with the best tools, minor audio issues can slip through and hurt your retention rates. One of the most common mistakes is leaving the generated audio as a single, uninterrupted block. If the pacing feels slightly robotic or lacks natural breathing room, don't hesitate to slice the audio track on your editing timeline. Manually cutting out empty space or adding a few frames of silence between sentences can instantly make the pacing feel organic and human.
Another frequent hurdle is "muddy" audio, which often happens when a voice sounds muffled on small smartphone speakers. You can easily fix this by applying a basic Equalizer (EQ) effect in your video editor. Try adding a slight boost to the high-mid frequencies (around 2kHz to 5kHz) to give the voiceover extra clarity and presence, allowing it to cut cleanly through the background music.
Finally, always ensure your custom voiceover track is perfectly aligned with your video's on-screen captions. Because a large percentage of users watch TikTok and Reels on mute, your captions must match the spoken voiceover word-for-word. Use CapCut’s or Premiere’s auto-captioning tools to generate the text directly from your imported audio track, then style them with bold, high-contrast colors to keep your silent viewers just as engaged as those listening with sound on.
How do I make a custom voiceover for TikTok?
To make a custom voiceover, write your script using phonetic spelling for tricky words, then generate the audio using a custom platform like Fanfun. Export the generated MP3 or WAV file, import it into your video editor (like CapCut or Premiere Pro), and layer it over your video timeline alongside your background music and sound effects.
Can I use AI voices for TikTok and Reels without getting penalized by the algorithm?
Yes, you can use AI voices without penalty. The algorithm does not penalize AI-generated audio; in fact, highly engaging, stylized character voices often increase viewer retention and watch time, which are primary ranking signals for the FYP.
How do I import custom voiceover audio files into CapCut?
First, download the audio file from Fanfun to your phone or computer. Open CapCut, start a new project, tap "Audio," select "Sounds," and tap the folder icon to import files from your device. Choose your saved custom voiceover file to add it directly to your timeline.
How do I make my AI voiceover sound more natural and less robotic?
To make the voice sound natural, use punctuation like commas and ellipses to create pauses. Additionally, split the audio clip in your video editor's timeline and manually add tiny gaps of silence between sentences to mimic natural breathing and human speech pacing.