The Animator's Script-to-Screen Audio Guide: How to Direct Custom Character Voiceovers That Match Your Art Style
Great animation is only half the battle; flat audio ruins visual magic. Learn how to match, direct, and sync expressive custom character voiceovers that perfectly align with your visual art style without breaking your budget.
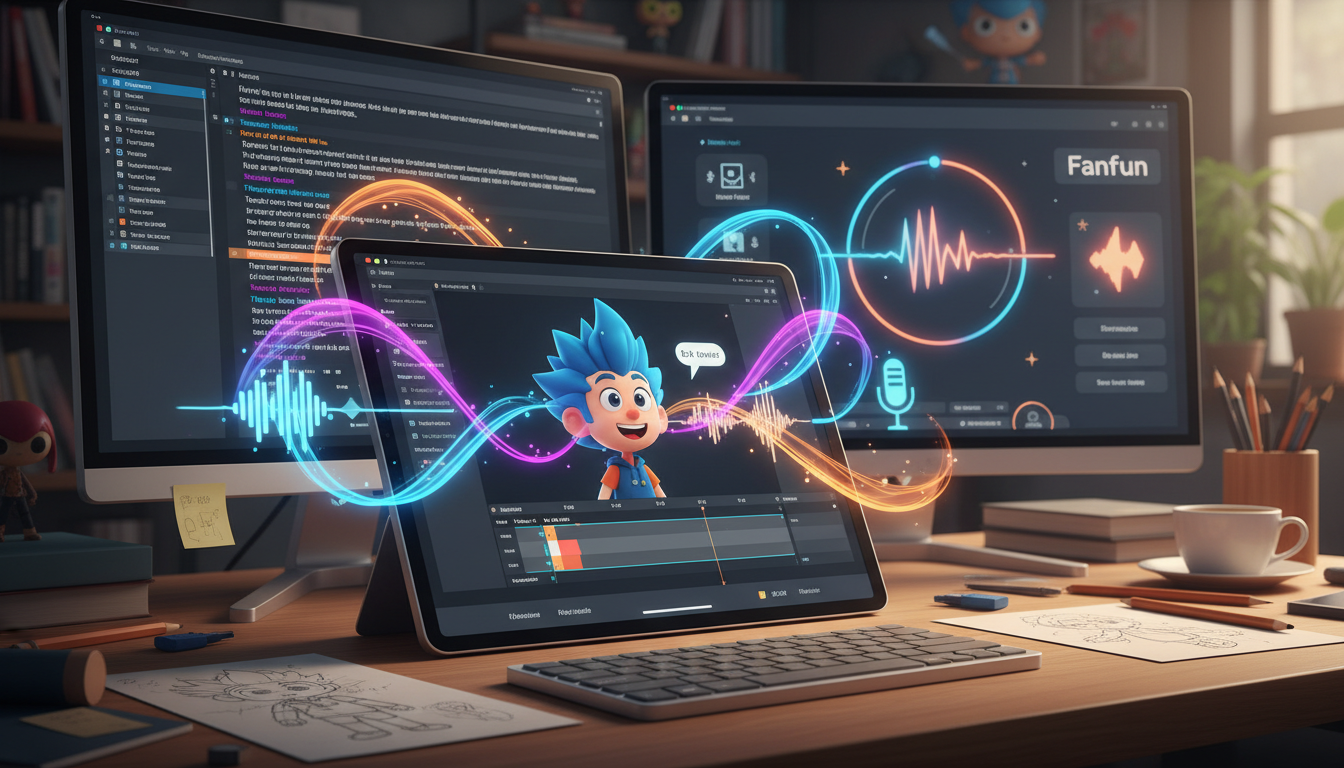
You have spent hours perfecting your keyframes, tweaking the lighting, and refining your character models. But when you hit play, the illusion shatters because your character sounds like a flat, robotic text-to-speech engine or a generic stock voice. For indie animators and social media creators, great visuals are only half the battle; flat audio instantly ruins the magic of your art style.
Traditionally, the only escape from this audio bottleneck was hiring expensive voice talent, waiting days for revisions, and blowing your entire production budget on a few lines of dialogue. Today, modern creators are using AI voice generators to bypass this bottleneck. By treating AI voice tools like digital voice actors—using strategic pacing, stylistic matching, and proper sound design—you can create immersive animated worlds instantly using tools like Fanfun.
The Animation Audio Bottleneck (Why Default Voices Kill Visual Magic)
For independent animators, motion designers, and social media creators, audio has always been a massive bottleneck. Traditional voice casting requires finding the right talent, negotiating rates, waiting days for recordings, and hoping you do not need to pay for costly revisions when a storyboard beat changes. If you are creating high-volume content for platforms like TikTok or YouTube Shorts, this turnaround time is completely unsustainable.
This bottleneck often forces creators to settle for default text-to-speech tools. However, generic robotic voices create an "uncanny valley" of audio. When an incredibly expressive, hand-drawn anime protagonist or a stylized 3D character speaks with a flat, corporate-sounding monotone voice, the audience is immediately pulled out of the experience. The visual energy and the vocal energy must match.
This is where Fanfun's AI voice generator acts as a bridge. Instead of settling for lifeless narration, animators can generate expressive, character-driven performances in minutes directly from their scripts. This allows you to scale your production, experiment with different character personas, and make real-time adjustments without pausing your creative momentum.
Mapping Voice Style to Animation Aesthetics (The Style Matrix)
To create a cohesive animated piece, you must align your visual style with the correct vocal profile. A gravelly, hyper-realistic voice will feel bizarre coming out of a pastel chibi character, just as a high-pitched cartoon voice will ruin a gritty cyberpunk scene. Before generating your audio, map your aesthetic to the ideal vocal attributes.
| Visual Style | Vocal Pitch & Tone | Energy & Pacing | Vocal Texture | Example Delivery |
|---|---|---|---|---|
| Classic Cartoon / Chibi | High, bright, melodic | Fast, bouncy, exaggerated | Clean, highly expressive | Squeaky gasps, sudden pitch jumps |
| Shonen Anime | Mid-to-low, intense | Dynamic, explosive bursts | Slightly raspy, heroic | Gravelly determination, shouted battle cries |
| Gritty Cyberpunk / Sci-Fi | Low, resonant, flat | Slow, deliberate, rhythmic | Breathy, mechanical, textured | Deadpan, cynical whispers, radio-filtered tones |
| Clean Motion Graphics | Warm, mid-range, friendly | Moderate, conversational | Silky, clear, professional | Approachable, rhythmic, authoritative |
Avoiding a tone mismatch is crucial. When your visual assets and your audio assets live in the same aesthetic universe, your animation immediately feels like a high-budget, professional production. Take the time to select a voice profile from Fanfun's character library that natively matches these target vocal textures before you begin writing your final script.
Step-by-Step: Directing Custom AI Voiceovers for Frame-by-Frame Syncing
To get a seamless lip-sync and believable character movement, you must work from the audio backward. Trying to force a voiceover track to match an already-completed animation is a recipe for awkward, robotic movement. Follow this step-by-step workflow to align your voice track with your visual timeline.
Step 1: Write the scratch track and time your storyboard beats. Before generating your final assets, record a rough scratch track using your own voice. Place this temporary audio in your timeline to establish the general timing of your visual beats. This ensures your scene has breathing room and that your visual jokes or dramatic pauses have time to land.
Step 2: Generate character-rich dialogue lines. Once your timing is locked, head to Fanfun to generate your final character dialogue. Instead of generating a single, massive block of text, generate your script in individual sentences or phrases. This gives you granular control over the inflection of each line and makes it much easier to manage your pacing during the editing phase. For a deeper dive into this process, check out our guide on designing custom character audio tracks that align perfectly with visual pacing.
Step 3: Splice, pace, and animate. Import your generated audio files into your Digital Audio Workstation (DAW) or video editor. Trim the silence at the beginning and end of each clip, and space them out to match your storyboard beats. Once your master voice track is completely locked, import it into your animation software (like Adobe Animate, Blender, or Toon Boom) and begin animating your keyframes and lip-syncing to the vocal waveforms.
Hooking Your Audience with Character Intros
If you are animating content for social platforms like TikTok, Instagram Reels, or YouTube Shorts, the first three seconds of your video are make-or-break. You cannot afford a slow, cinematic buildup. Utilizing highly expressive, character-driven voiceovers for high-retention video intros is a proven way to grab attention immediately. Start your animation mid-sentence, with an intense vocal delivery, a dramatic gasp, or a shocking statement to stop users from scrolling past your work.
Scripting for Voice AI: Writing for Natural Breath, Cadence, and Emphasis
Writing a script for an AI voice generator requires a different approach than writing for a human voice actor. Human actors instinctively know when to breathe, where to pause, and which words to stress. To get the most natural, human-like delivery out of an AI voice generator, you must embed these performance cues directly into your written text using specific formatting hacks.
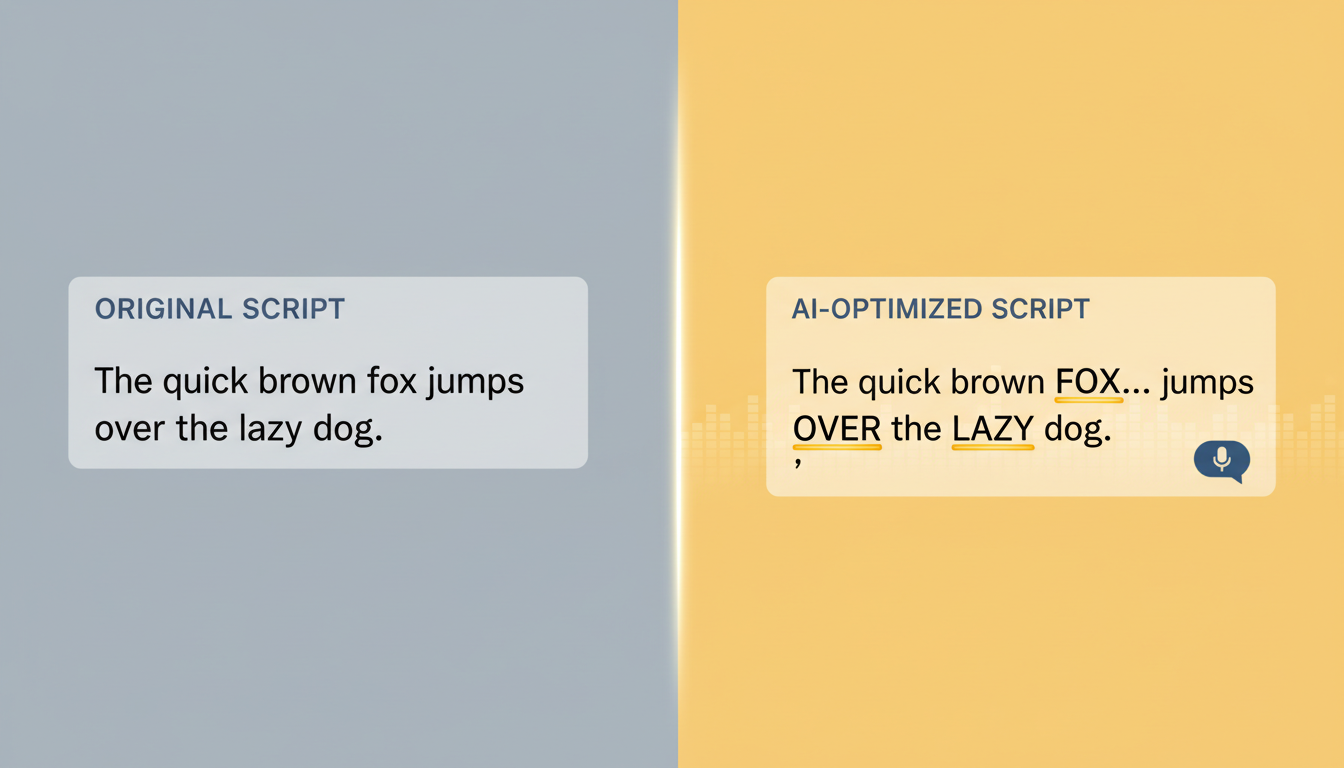
First, master the art of punctuation hacks. Standard grammar is designed for reading, not speaking. To force the AI to deliver a more natural, conversational performance, use the following formatting tricks:
- Ellipses (...) for hesitation: Writing "I don't know... what happened" forces a natural, dramatic pause and a soft drop in pitch.
- Dashes (—) for abrupt shifts: Use dashes to simulate a character interrupting themselves or changing their train of thought, such as "Wait—did you hear that?"
- Capitalization for emphasis: While you should use this sparingly, capitalizing a specific word (e.g., "I said NOW!") can encourage the engine to apply more vocal force and volume to that word.
Second, utilize phonetic spelling. AI engines translate text to phonemes. If your script includes complex fantasy names, local slang, or specific comedic inflections, spell them out phonetically. For example, if the AI struggles to pronounce a fictional town like "Xylophia," write it in your script editor as "Zy-lo-fee-uh" to ensure a perfect, natural delivery on the first try.
Ultimately, getting the best performance means stepping into the role of a director rather than just a writer. Taking the time to craft your text with these performance-oriented formatting choices is a highly effective method for directing custom AI voiceovers to maximize viewer retention and keep your audience fully immersed in your animated story.
Post-Production Polish: Blending AI Voices Into Your Soundscape
Once you have imported your generated character voices and completed your animation, the final step is audio post-production. A raw, dry voiceover file layered directly on top of music will sound like a voiceover, not a character speaking from within an animated world. To make your characters feel like they physically exist in your scenes, you must apply a few essential audio engineering techniques.
First, apply environmental spatial effects. If your character is standing in a massive, empty cathedral, apply a lush reverb with a long decay time. If they are talking through a walkie-talkie, a space helmet, or a phone, use a bandpass filter (cutting the low and high frequencies) to create that classic, tinny radio effect. These subtle cues tell the viewer's brain that the sound is originating from inside the visual space.
Second, always layer a subtle layer of room tone or ambient sound beneath your dialogue. Even in quiet scenes, a silent room is never truly silent. Adding a low-volume track of wind, distant traffic, or gentle room hum glues your dialogue tracks together, hiding any sudden cuts or silences between your generated audio clips.
Finally, do not underestimate the power of comedic punctuation. If you are animating comedic shorts or meme-style content, timing is everything. Try using an AI meme sound generator to build viral-ready audio edits. Blending custom sound effects, classic meme stingers, and sudden volume shifts alongside your character's voiceover will heighten the comedic timing of your animation, making it far more shareable and engaging for your audience.
How do I sync AI-generated voiceovers with my animation's lip-syncing?
The best method is to generate and lock your audio track before you begin animating. Import the final voice track into your animation software (such as Adobe Animate, Blender, or Toon Boom) and use the visual waveform as a guide. Map your character's mouth shapes (visemes) to the key phonemes in the audio track frame-by-frame for a perfect, natural sync.
Can I adjust the emotion or speed of an AI character voice?
Yes. You can influence the emotion and speed of the delivery by adjusting the punctuation in your script (using ellipses for slow, hesitant speech or short sentences for rapid, high-energy delivery). Additionally, you can adjust the speed, pitch, and pacing of the generated audio file directly inside any video editor or Digital Audio Workstation (DAW) to match the visual pacing of your scene.
What is the best way to format a script so the AI voice generator pauses naturally?
To create natural pauses, use ellipses (...) for soft hesitations, dashes (—) for abrupt stops, and commas (,) for standard conversational pauses. If you need a longer dramatic pause, it is best to generate the dialogue in separate sections and manually space the audio files apart on your video editing timeline.
Do I need professional audio editing software to use AI voiceovers in my animations?
No, you do not need expensive software. Any standard, free video editor (like CapCut, DaVinci Resolve, or iMovie) or basic audio editor (like Audacity) is fully capable of importing, trimming, and positioning your AI-generated voice files alongside your animation track.