Beyond the Postcard: How to Script and Voice High-Retention Narration for Travel Videos
Most travel content fails because the narrator simply describes what is already visible on screen. Learn how to design a 'second layer' of reality using advanced scripting frameworks, pacing techniques, and stylized AI narration.
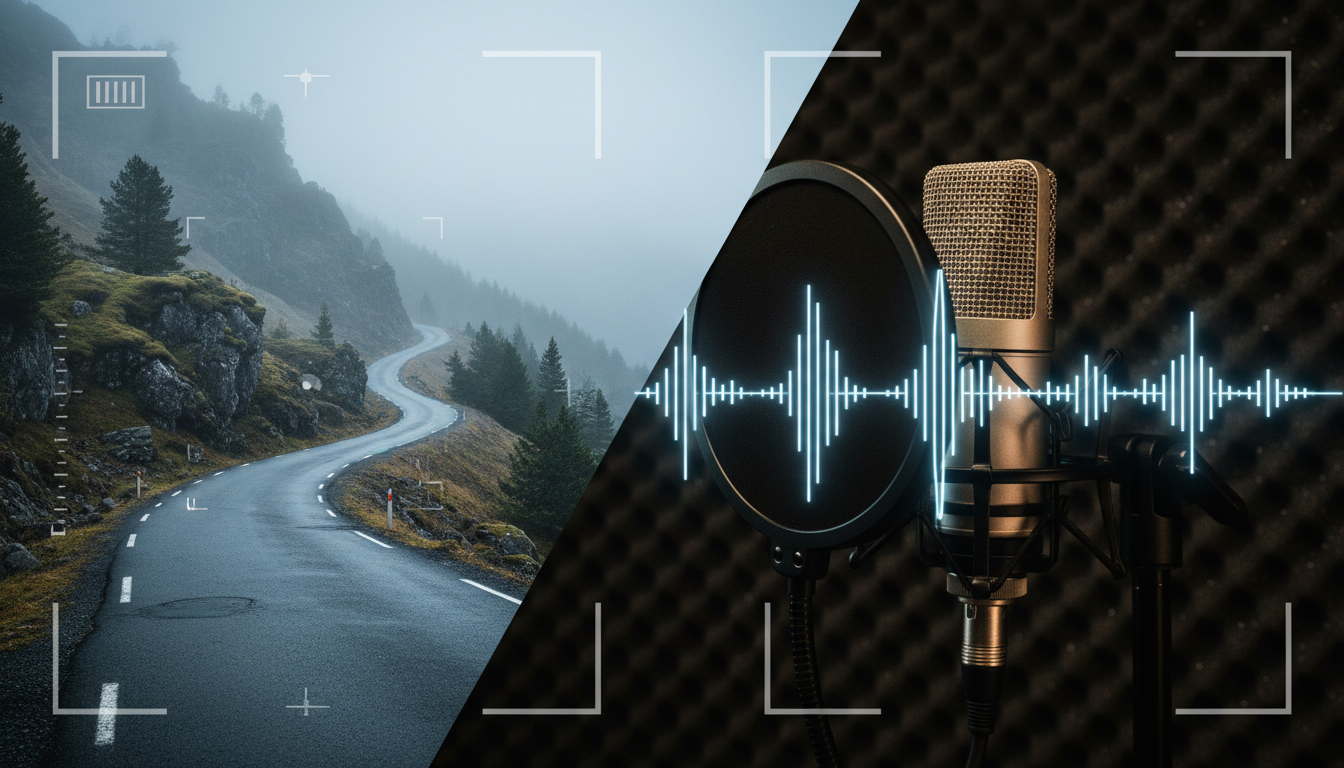
Travel videos are incredibly easy to shoot but notoriously difficult to make people actually watch. With high-definition cameras in every pocket, anyone can capture a cinematic drone shot of a misty mountain or a slow-motion sweep of a bustling market. Yet, millions of these visually stunning clips sit on social feeds with single-digit watch times because the audio layer fails to do any real heavy lifting. When your voiceover merely describes what is already visible on screen, you treat your audience like they are blind, prompting them to scroll away.
To build an audience that stays until the final frame, your voiceover must serve as a second layer of reality, adding subtext, humor, or historical tension that the camera lens simply cannot capture. High-retention travel storytelling is not about documenting where you went; it is about reinterpreting the journey through a deliberate vocal style. By shifting from literal descriptions to complementary narration, you transform generic vacation footage into a compelling, high-retention narrative.
The Death of Descriptive Narration (Why 'What You See' is Killing Your Retention)
The most common mistake in travel vlogging is literalism. If you show a beautiful, wide shot of the Colosseum and your voiceover says, "Here is the Colosseum, built in 70 AD," you have wasted a valuable storytelling opportunity. The viewer already knows what they are looking at, and if they wanted a basic historical date, they would have looked it up on Wikipedia. Literal narration triggers a cognitive shortcut in the viewer's brain: I have seen this, I understand this, I can scroll past this.
The true role of travel narration is to provide context, internal monologue, or sensory details that are completely invisible to the camera lens. Your voice should describe the things the camera cannot capture: the suffocating humidity, the smell of burnt diesel and roasted almonds in the air, the internal panic of realizing you took the wrong train, or the historical irony of a modern fast-food joint sitting directly across from an ancient ruin. By introducing these invisible layers, you force the viewer to look closer at the visuals to find the connection, instantly boosting their engagement.
To execute this effectively, creators should follow the Visual-to-Vocal Contrast rule. This rule dictates that your voice should act as the counterweight to your footage:
- If the visual is grand, epic, and cinematic: Keep your voice intimate, quiet, and conversational. Speak as if you are whispering a secret to a friend while looking at something massive.
- If the visual is chaotic, fast-paced, and stressful: Let your voice act as a grounding, steady anchor. Speak with calm, measured authority to create a humorous or dramatic juxtaposition with the wild footage.
For creators looking to build a deeply atmospheric, mini-documentary style travel edit, mastering the art of casting and scripting high-impact narration is essential. You can learn more about this approach in our guide on modern documentary scripting and casting narration.
Three Travel Narration Archetypes (And How to Script Them)
To avoid the trap of a generic, monotone delivery, you must choose a distinct narrative persona. Audiences do not connect with faceless tour guides; they connect with characters who have a specific point of view. Before you write a single line of your next script, decide which of these three travel narration archetypes best fits your content style.
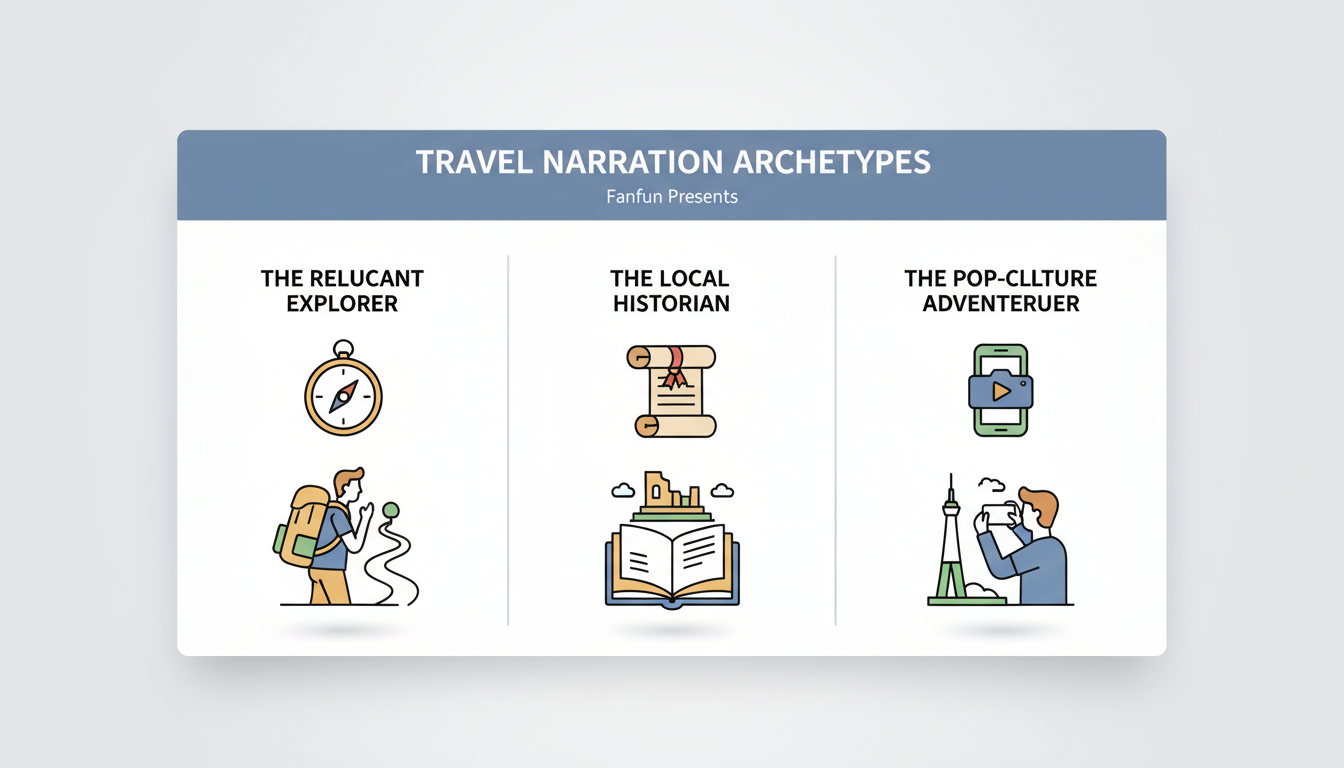
Choosing Your Narrative Lens
Each archetype operates under a completely different set of scripting rules and pacing structures. Choosing one and staying consistent throughout your edit establishes a predictable, comforting rhythm for your audience.
| Archetype | Tone & Pacing | Core Scripting Rule | Ideal Visual Style |
|---|---|---|---|
| The Reluctant Explorer | Dry, deadpan, conversational, slow pacing with long pauses. | Focus on self-deprecating humor, minor travel mishaps, and honest, unglamorous realities. | Handheld, raw, uncolored footage, showing behind-the-scenes struggles. |
| The Local Historian | Warm, authoritative, cinematic, deliberate pacing. | Focus on deep, narrative-driven context, mini-mysteries, and atmospheric world-building. | Slow-motion, highly color-graded, symmetrical and epic compositions. |
| The Pop-Culture Adventurer | High-energy, fast-paced, rhythmic, punchy delivery. | Use meme-literate commentary, quick comparisons, and highly relatable modern references. | Fast cuts, whip pans, zoom-ins, and dynamic on-screen text overlays. |
If you choose The Reluctant Explorer, your script might look like this: "They told me the sunrise at Temple Mount was life-changing. What they didn't tell me was that at 4:00 AM, the only thing changing was my body temperature. I am currently shivering next to a stray cat who seems much better dressed for this than I am." This immediately builds empathy and keeps the viewer hook-focused because it feels human and real.
The Audio Architecture: Pacing, Pauses, and Sound Design
Writing a great script is only half the battle; the other half is knowing when to shut up. A high-retention travel video requires "audio breathing room." If your voiceover is an uninterrupted wall of sound from the first second to the last, the viewer's brain will quickly experience sensory overload and fatigue. You must design empty spaces where the environment can speak for itself.
As a rule of thumb, leave 2 to 3 seconds of natural environmental sound—such as the clatter of a passing train, the chatter of a busy market, or the crash of ocean waves—between major spoken points. These sonic pauses act as a reset button for the viewer's attention span. They ground the audience in the physical space, making them feel like they are standing next to you rather than just watching a screen.
Additionally, you should write your scripts with built-in timing cues. Instead of reading a paragraph continuously, structure your lines so they land precisely before or after a visual cut. For example, speak a punchy line, cut to a new angle, let the ambient sound play for one second, and then deliver the next line. Use sound effects (SFX) like swooshes, camera shutters, or muffled bass drops not as generic background noise, but as punctuation marks that highlight the comedic reveals or dramatic shifts in your narration. Learning how to direct vocal pacing and audio elements is a skill shared with audio drama production, where sound design does the heavy lifting. For more on this, check out our guide on directing voices for cinematic story narration.
Casting the Perfect Voice: From Authentic Self to Stylized AI Personas
Choosing who delivers your travel narration depends entirely on your content goals. Using your own voice is ideal for raw, intimate travel diaries where your personal brand is the main attraction. However, self-recording requires high-end gear, a perfectly quiet room, and hours of vocal retakes to get the inflection just right. If you want to elevate your production value or create highly stylized, conceptual travel edits, casting external voices is often the smarter route.
This is where leveraging an AI voice generator can completely change the creative playing field. With Fanfun, you can easily generate character-driven, highly stylized narration that would be impossible or incredibly expensive to record traditionally. Instead of using a standard, dry voiceover, you can use Fanfun's library of AI voices to inject unexpected humor or cinematic drama into your footage.
Imagine matching a quiet, slow-paced walk through a neon-lit Tokyo alleyway with the intense, dramatic voice of an anime protagonist narrating his ultimate quest. Or picture a grueling, sweat-drenched, miserable hike up a mountain trail narrated by an enthusiastic, fast-talking retro sports announcer treating your struggle like the final minutes of the Super Bowl. This creative contrast instantly disrupts the typical travel vlog formula, creating a scroll-stopping hook. If your primary distribution channel is short-form video, establishing a signature brand voice on Reels is critical to stopping the scroll within the first three seconds. Learn how to craft these hooks with our breakdown on building a signature brand voice for Instagram Reels.
The Travel Creator’s Post-Production Voiceover Checklist
Once your script is written and your voice track is generated or recorded, the final step is mixing the audio so it sounds clean, professional, and balanced. Use this step-by-step checklist during your post-production phase to ensure your narration cuts through the mix perfectly:
- Step 1: Noise Reduction and Room Tone Cleanup
Apply a gentle noise gate or denoiser to remove any low-end room rumble, computer fan hiss, or air conditioning noise. Be careful not to set this too aggressively, or your voice will sound choppy and artificial. Keep a tiny bit of natural location ambiance if you recorded on-site to preserve the authenticity of the setting.
- Step 2: EQ Settings for Voice Clarity
Roll off the muddy low frequencies (everything below 80Hz) with a high-pass filter. Boost the "presence" range (between 2kHz and 5kHz) slightly by 1 to 2 decibels. This ensures your voice sounds crisp and clear, allowing it to cut through thick background music without requiring you to turn the overall voice volume up to uncomfortable levels.
- Step 3: Sidechain Compression (Ducking)
Set up a sidechain compressor on your background music track, using your voiceover track as the trigger. Set it so that whenever you speak, the background music automatically ducks down by 3 to 5 decibels, and then smoothly rises back up during your designed audio pauses. This keeps the mix clean without requiring tedious manual volume keyframing.
- Step 4: Pacing and Emotional Arc Check
Play the video back with your eyes closed. Does the rhythm of the spoken words match the emotional energy of the project? If a scene is supposed to feel epic, make sure the voice has space to breathe. If it is supposed to feel chaotic, ensure the edits and the vocal delivery hit in rapid, satisfying succession.
How do I write a script for a travel vlog?
To write a travel vlog script, start by listing the key emotional beats of your trip rather than just the locations. Write down the sensory details (smells, sounds, physical discomforts) and internal thoughts you experienced. Use the "Visual-to-Vocal Contrast" rule to write narration that complements, rather than describes, the video footage. Keep your sentences short, conversational, and punchy.
Should I record my travel voiceover on location or in post-production?
Recording on location is great for capturing raw, immediate reactions, but background noise (wind, traffic, crowds) can easily ruin your audio quality. For high-retention storytelling, it is best to capture rough audio notes on location, and then record or generate your final, polished voiceover in post-production where you have full control over the acoustic environment and script timing.
How do I make my travel video voiceover sound professional and clear?
Professional voiceover quality relies on a clean recording environment, proper microphone placement (about 6 inches from your mouth), and post-production processing. Use a high-pass filter to cut muddy low frequencies below 80Hz, boost the presence range (2kHz - 5kHz) for clarity, and use sidechain compression to automatically lower your background music whenever you speak.
Can I use AI voices to narrate my travel videos?
Yes, using AI voices is an excellent way to elevate your travel videos, especially if you want to create highly stylized, comedic, or character-driven content. Platforms like Fanfun allow you to generate unique, high-quality character voices—such as an anime hero or a sports announcer—to add an unexpected, entertaining layer of commentary that sets your videos apart from standard travel vlogs.