The Interactive Video Card Blueprint: How to Design Immersive, Choose-Your-Own-Adventure Greetings for Your Friends
Static e-cards are digital clutter, and generic video greetings are often watched once and forgotten. The future of personal gifting is interactive. Learn how to script, design, and assemble an immersive, choose-your-own-adventure digital greeting card that your friends will replay and share.
Most digital greeting cards are destined for the virtual trash can. We have all sent or received them: a static graphic of a cake with some generic cursive text, or a passive, pre-recorded video greeting that gets watched once out of polite obligation and then completely forgotten. In a world where our group chats are constantly flooded with high-energy memes and personalized media, the bar for celebrating our friends' major moments has officially moved.
The future of gifting is not passive; it is participatory. By transforming a standard greeting into an interactive, choose-your-own-adventure video card, you turn a simple birthday wish or milestone celebration into a playable mini-game. Using modern creative tools, including branching video formats and AI-generated assets, you can easily build an immersive digital experience that your friends will play, replay, and share with everyone they know.
The Death of the Passive E-Card (And Why Interactivity Wins)
Traditional digital cards struggle to compete in today’s high-stimulus digital landscape. When you receive a static image or a basic text message, the cognitive load is incredibly low, but so is the emotional payoff. It requires zero effort to consume, which means it leaves almost no lasting impression. Passive video greetings are a slight upgrade, but they still position the recipient as a mere spectator in their own celebration.
Interactivity changes the entire dynamic by introducing the psychology of agency. When a recipient is forced to make choices, click buttons, or actively respond to progress through a message, they become an active participant in the gift. This engagement triggers curiosity: What happens if I click the other option? What did they write for the bad choice? By putting your friend in the driver's seat, you transform a fleeting digital interaction into a memorable, highly personalized experience that feels like a custom-built game designed just for them.
Three Formats for Interactive Video Cards
Before you start mapping out your storyline, you need to choose the technical format that fits your vision, your technical comfort level, and the recipient’s personality. Here are three distinct frameworks for building your interactive card, ranging from simple web-based branching to conversational AI.
Format 1: The Branching Video Path (The Classic Adventure)
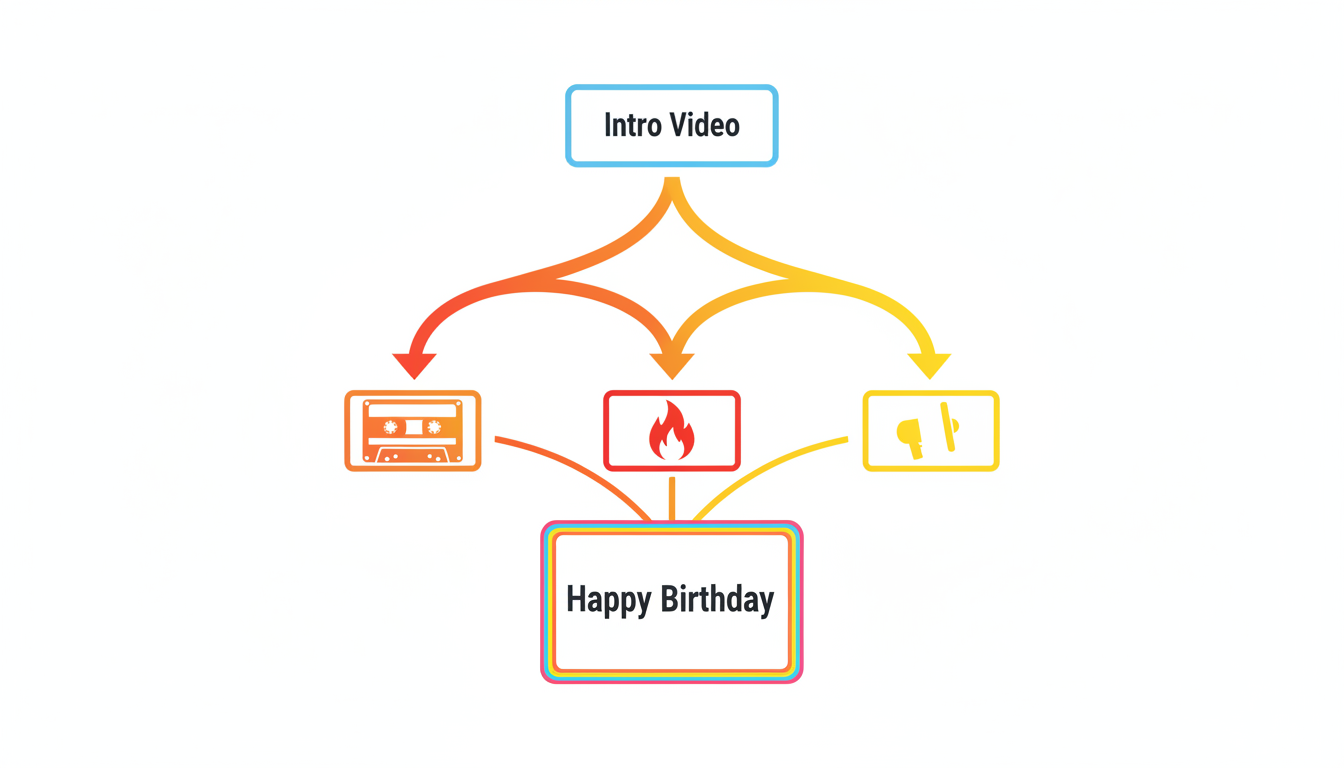
This is the digital equivalent of a classic choose-your-own-adventure book. The experience starts with an introductory video that sets up a quest or a scenario. At the end of the clip, two or three clickable buttons appear, prompting your friend to make a choice. Each selection redirects them to a different video clip, leading to various funny outcomes, inside jokes, or heartfelt messages.
This format is excellent for storytelling and works incredibly well when you want to transition from traditional, passive media. If you are looking to elevate your digital greetings during the holidays or special occasions, moving beyond generic holiday e-cards to design highly personalized digital greetings using this branching video setup is the ultimate way to stand out.
Format 2: The Conversational AI Companion
Instead of having your friend click through pre-recorded paths, you can build an interactive card around a real-time conversation. By utilizing Fanfun’s interactive AI Chat feature, you can set up a personalized digital experience where your friend chats directly with an AI interpretation of their favorite athlete, anime character, or cultural icon.
You can frame the card as a challenge: "To unlock your real birthday gift, you have to convince this character to give you the secret password." This creates an incredibly dynamic, two-way interaction that a static video simply cannot match. It is instant, highly personalized, and gives the recipient complete creative control over how the conversation unfolds.
Format 3: The Multi-Sensory Meme Card
If your friend’s love language is internet humor, a high-tempo, multi-sensory meme card is the way to go. This format blends fast-paced visual memes, rapid-fire choices, and custom audio tracks. Instead of a slow, sentimental journey, it plays out like a chaotic, personalized shitpost.
To make this format land, the audio needs to match the visual pacing perfectly. You can use our blueprint for generating custom meme audio to drive your video edits to create tailored voiceovers, custom sound effects, or celebrity-style narrations that react directly to the choices your friend clicks. The sudden appearance of an AI-generated character commenting on their specific inside joke is guaranteed to stop the scroll.
How to Script an Interactive Narrative (The Choice-and-Consequence Framework)
The secret to a great interactive video card lies in its script. The golden rule of interactive scripting is simple: every choice must lead to a distinct, satisfying payoff. If you offer two choices and both lead to almost identical videos, the illusion of agency is shattered, and the experience feels lazy.
To help you map out your narrative, use this comparison table of three highly effective narrative paths:
| Narrative Path | Core Vibe | Best For | Example Choice Scenario |
|---|---|---|---|
| The Roast Path | Sharp, playful teasing, and lighthearted inside jokes. | Close friends, siblings, and coworkers who love banter. | "Option A: Hear a brutal critique of your fashion sense" vs. "Option B: Relive the infamous 2018 spring break parking lot incident." |
| The Nostalgia Path | Warm, sentimental, and reflective. | Long-time friends, partners, and family members. | "Option A: Take a trip back to our college apartment years" vs. "Option B: Revisit our first disastrous road trip." |
| The Hype Path | High-energy, motivational, and cinematic. | Graduations, promotions, or major creative milestones. | "Option A: A personalized pep-talk from an AI sports legend" vs. "Option B: An over-the-top Hollywood action trailer voiceover." |
If you decide to go with the Roast Path, balancing humor with affection is crucial. You want the jokes to bite, but you do not want to actually ruin their birthday. To hit the perfect sweet spot, you can learn how to write sharp, funny scripts that land perfectly without crossing the line. The key is to target shared memories and silly habits rather than genuine insecurities.
Step-by-Step: Assembling Your Interactive Masterpiece
Once you have chosen your format and drafted your script, it is time to build. You do not need to be a software engineer to pull this off; you just need a clear workflow and the right creator tools.
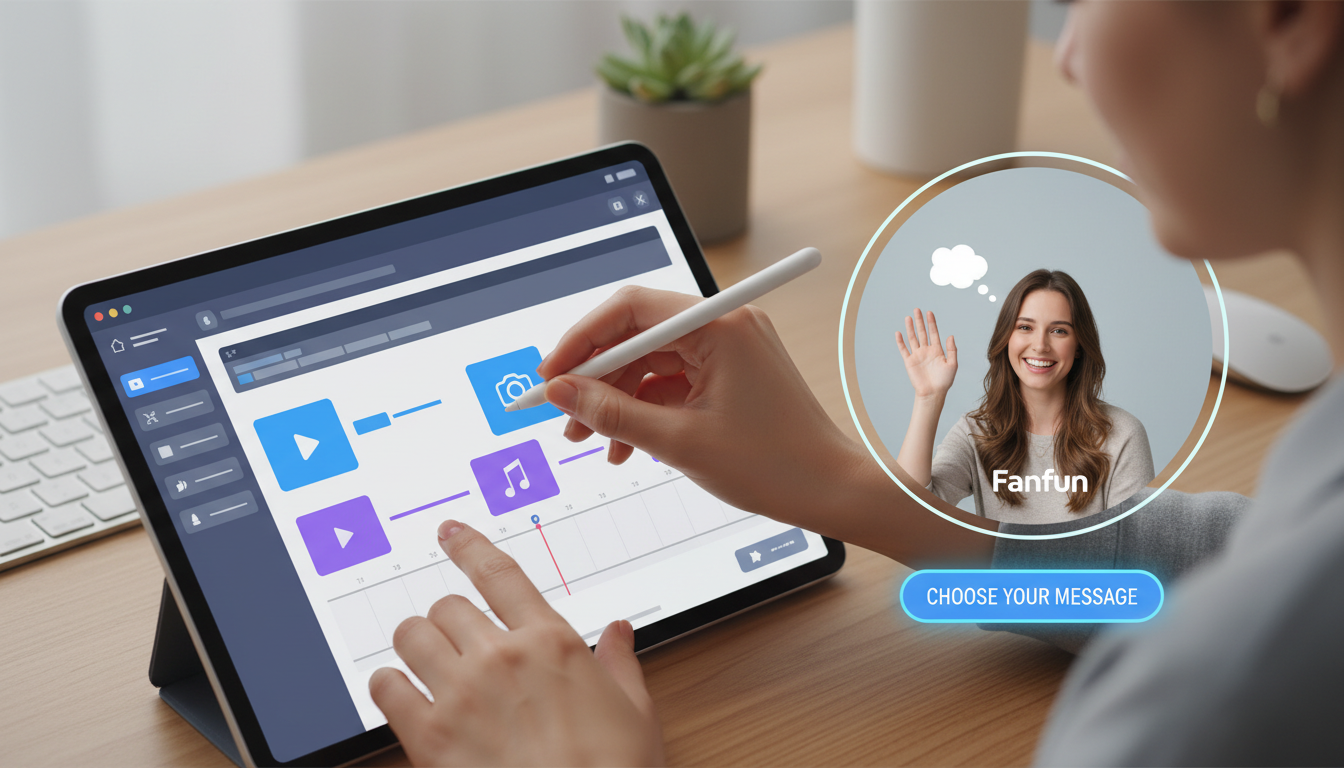
Step 1: Map Out the Flowchart
Before you record or generate a single asset, draw your storyline on paper or use a digital whiteboard tool like Miro. Draw boxes for every video clip and arrows connecting them based on the user's choices. This ensures you do not end up with dead ends, loop traps, or missing branches.
Step 2: Generate Your Custom Assets
Now, gather your media. Instead of relying on generic stock footage, use Fanfun to instantly generate tailored celebrity-style video segments or custom character voiceovers. If your friend is a massive anime fan, you can generate an AI personalized video of a character like Doraemon kicking off the adventure. If they are a sports fanatic, have an AI athlete deliver the ultimate hype speech as one of the choice rewards. Having these highly specific, instantly generated assets makes the card feel incredibly premium and thoughtful.
Step 3: Assemble the Interactive Logic
You have a few user-friendly options for linking your videos together without writing code:
- Interactive Presentation Tools: Platforms like Google Slides or Canva allow you to embed videos on different slides and link buttons to specific slides (e.g., "Click here to go to Slide 4"). Export the final presentation as a view-only link.
- Interactive Video Builders: Tools like Adventr, Typeform, or Eko are designed specifically for branching video logic. You simply drag and drop your video clips, draw lines between them, and overlay clickable buttons.
- Unlisted YouTube Playlists: Upload your video segments as unlisted YouTube videos. At the end of each video, use the description box or end screens to provide links to the next videos in the chain.
Step 4: Test the User Experience
Send the draft link to a trusted mutual friend or test it yourself on both a desktop computer and a mobile phone. Make sure the buttons are easy to tap on mobile screens, the audio levels are consistent across all clips, and every single choice path successfully leads to its intended destination.
Delivery Tactics: How to Package and Send Your Card for Maximum Impact
How you deliver the interactive card is just as important as how you build it. Sending a raw, naked URL link in a casual text message like "hey check this out" completely kills the suspense. You want to build anticipation before they even click.
Instead of a plain text link, package your card using one of these creative delivery methods:
- The Custom QR Code: Print a QR code on a physical object, like a custom-printed coaster, a cheap trophy, or a funny physical birthday card. When they scan it with their phone, the interactive adventure begins.
- The Personalized Teaser Page: Use a simple, free landing page builder like Carrd to host your interactive card. Customize the page background with funny photos of your friend and add a giant, glowing "START ADVENTURE" button in the center.
- The Teaser Trailer: Send a 10-second "teaser trailer" video first. Use a booming, cinematic voiceover generated on Fanfun to warn them: "A decision of global importance awaits you. Check your inbox, turn your sound up, and prepare to make your choice."
By framing the delivery as an event, you set the stage for your friend to sit down, turn their volume up, and fully immerse themselves in the custom-built world you have created for them.
How do I make a choose-your-own-adventure video card without knowing how to code?
You do not need any coding skills to create an interactive video card. You can use drag-and-drop interactive video platforms like Adventr, interactive presentation tools like Google Slides or Canva, or even simple unlisted YouTube videos where you link to the next choice in the video description or end screen cards.
What are the best free platforms for hosting interactive video greetings?
For a completely free and accessible setup, Google Slides and Canva are fantastic because you can link buttons directly to different slides containing your videos. If you want a dedicated video-first platform, Adventr offers free tiers that allow you to build and share basic branching video projects easily.
Can I combine real video clips with AI-generated character voices in the same card?
Absolutely! In fact, blending media makes the card even more engaging. You can record a real video of yourself introducing the challenge, and then have the choice buttons lead to custom AI-generated celebrity roasts or character pep-talks generated on Fanfun. This hybrid approach keeps the card feeling deeply personal while adding high-production value.
How do I make sure my friend actually interacts with the card instead of just watching the first video?
The key is clear onboarding and immediate feedback. Keep your introductory video short (under 30 seconds) and make sure it ends with a direct prompt to make a choice. Use bright, high-contrast buttons with compelling, funny text (like "Hear a brutal secret" vs. "Get a boring compliment") so they are immediately tempted to click and explore.